If you use Snapseed to edit your smartphone photos, you might have noticed the 'Ambiance' slider under the 'Tune Image' settings. Ambiance? Isn't that the mood or feeling you get at a party, not a photographic term? Yes, exactly, and that's why I avoided it for quite a while. I just couldn't figure out how to apply it effectively to my photos. And Google, which owns Snapseed, was hardly helpful. The Google help page ambiance explanation reads:
The Ambiance control is a special type of contrast that controls the balance of light in a photo. It can be used to balance backlit photos or to accentuate contrasts throughout your photo. Swipe right for photos where the subject is darker than the background. Swipe left to increase the contrast of dark objects and create a slight glow around darker objects. This is especially helpful in photos that are slightly flat.
I wasn't aware that there was a 'special type of contrast' available to photographers, just the plain old difference between light and dark, so that was surprising. And it's all very well telling us to 'swipe right for photos where the subject is darker than the background,' but what effect will it have?
As with just about everything associated with photography, the best way to understand it is to use it. So that's how I've come to write this and present you with some compare-and-contrast examples where I have swept the slider both left and right on a series of photos and analysed its impact.
In order to create examples that are clear enough for illustrative purposes, all of the ambiance settings, whether positive or negative, have been exaggerated. Subtlety and demonstration aren't natural bedfellows; that's for the real thing.
Dried berries
Let's start with this image of some dried berries. I've adjusted the white balance to correct for a light temperature that was out by several thousand Kelvin and cropped it marginally, but that's all. It's a good base.
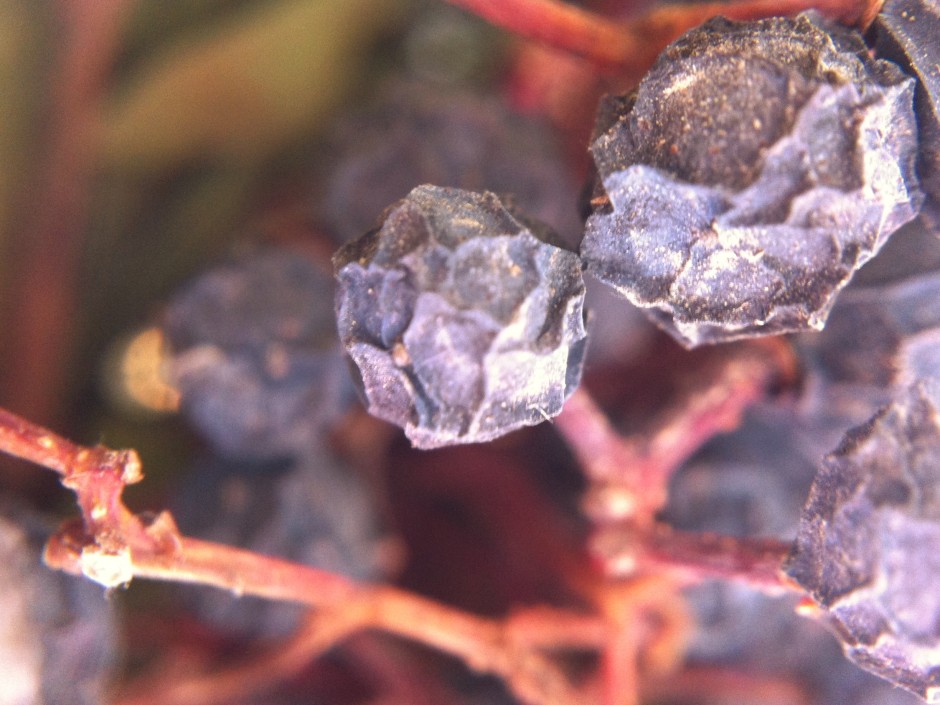
By increasing the ambiance setting by 60 points, you can see that the image has taken on a more reddish tone. The background has also been lightened, but the highlights—say those on the bottom right of the centre berry—haven't become overwhelming, as you might otherwise expect from an increase in contrast. The definition of the berries has improved, but not at expense of the highlights.
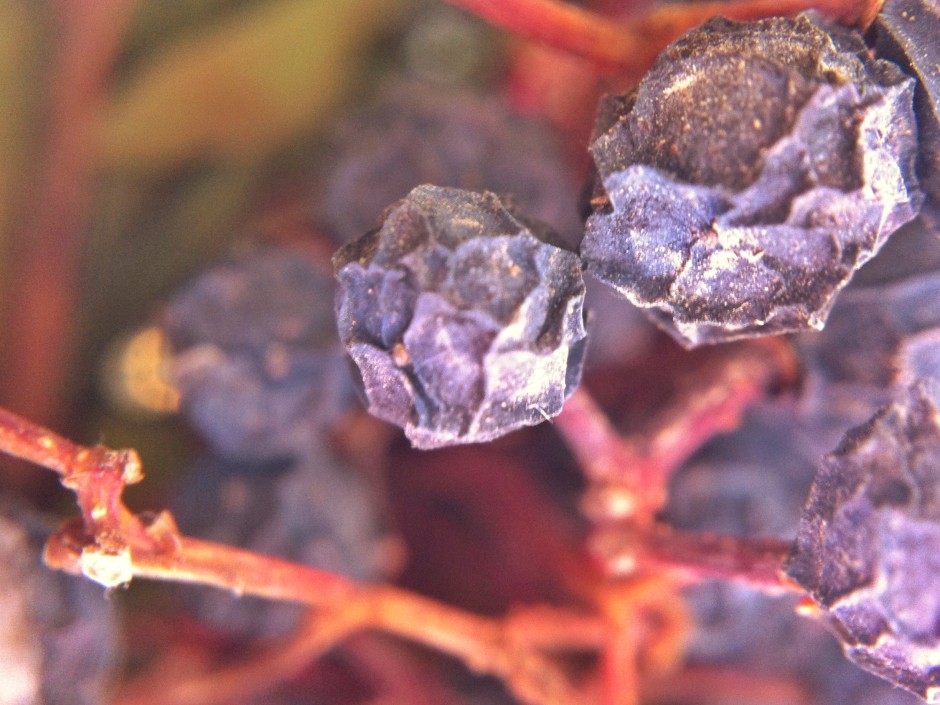
When I swiped the slider to the left and dropped the ambiance by 60 points, you can see that the background became darker, the red tone has diminished, and the berries have become softer looking and less defined. A negative ambiance setting has given the photo a softer, more muted look.

Eva
This is my niece, Eva. She's three. She's being spun (by me) on an upright-spinny-device in the park. I've adjusted the original image to correct the white balance, but that's it.
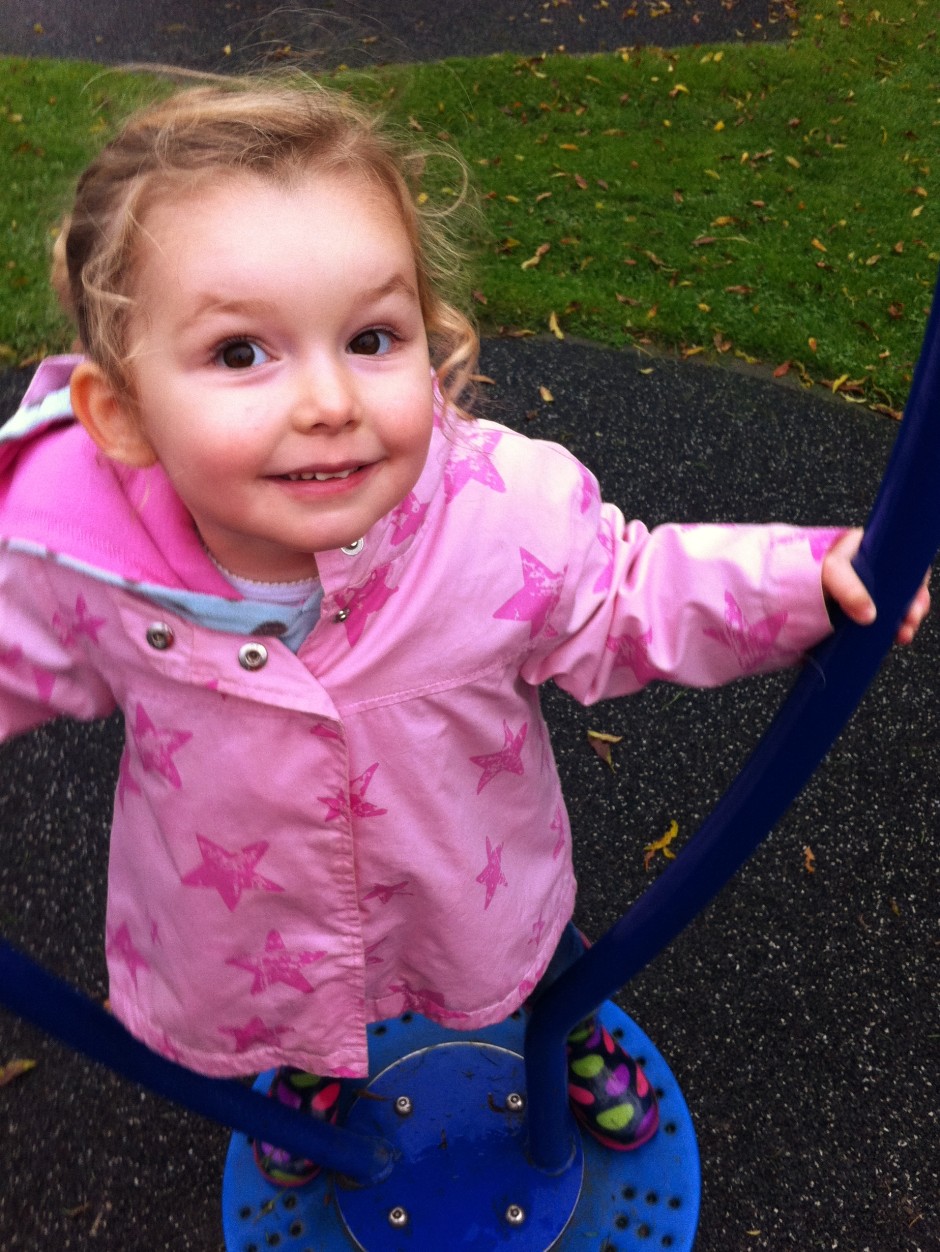
When I increased the ambiance, pushing it to +60 made Eva look as if she's been on a sunbed every day of her life since birth. It was awful. So I went for +30 instead. She still looks comically rosy-cheeked, but not horrifically so. Her coat is an unattractively bright shade of pink, her wellies are deeply saturated, but the grass looks good.
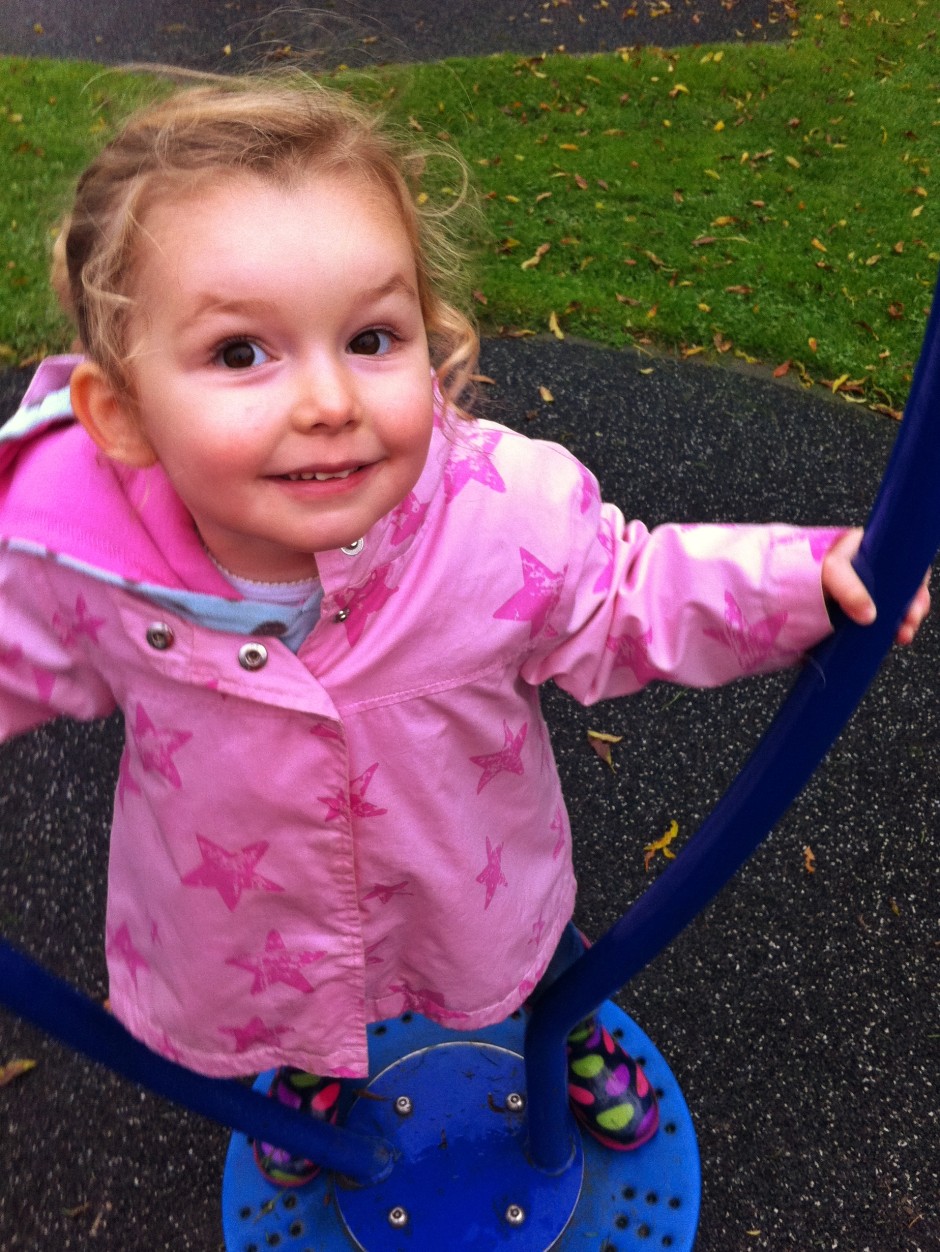
Decreasing the ambiance to -30 had a rather pleasing effect, though. Her skin became more milky and the darker background helped her to gain even prominance in the image. I reckon that decreasing it even further could make for an even better look.
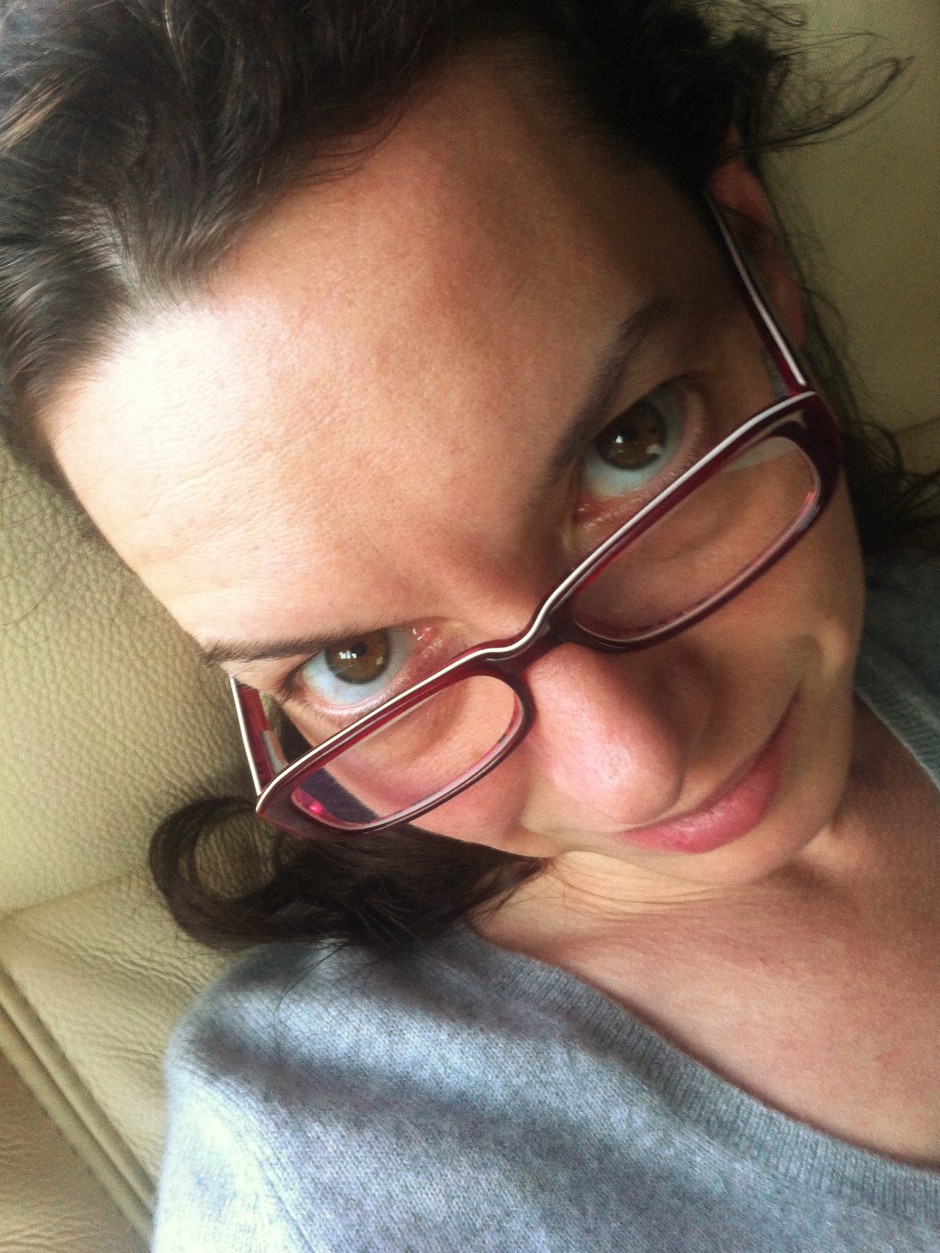
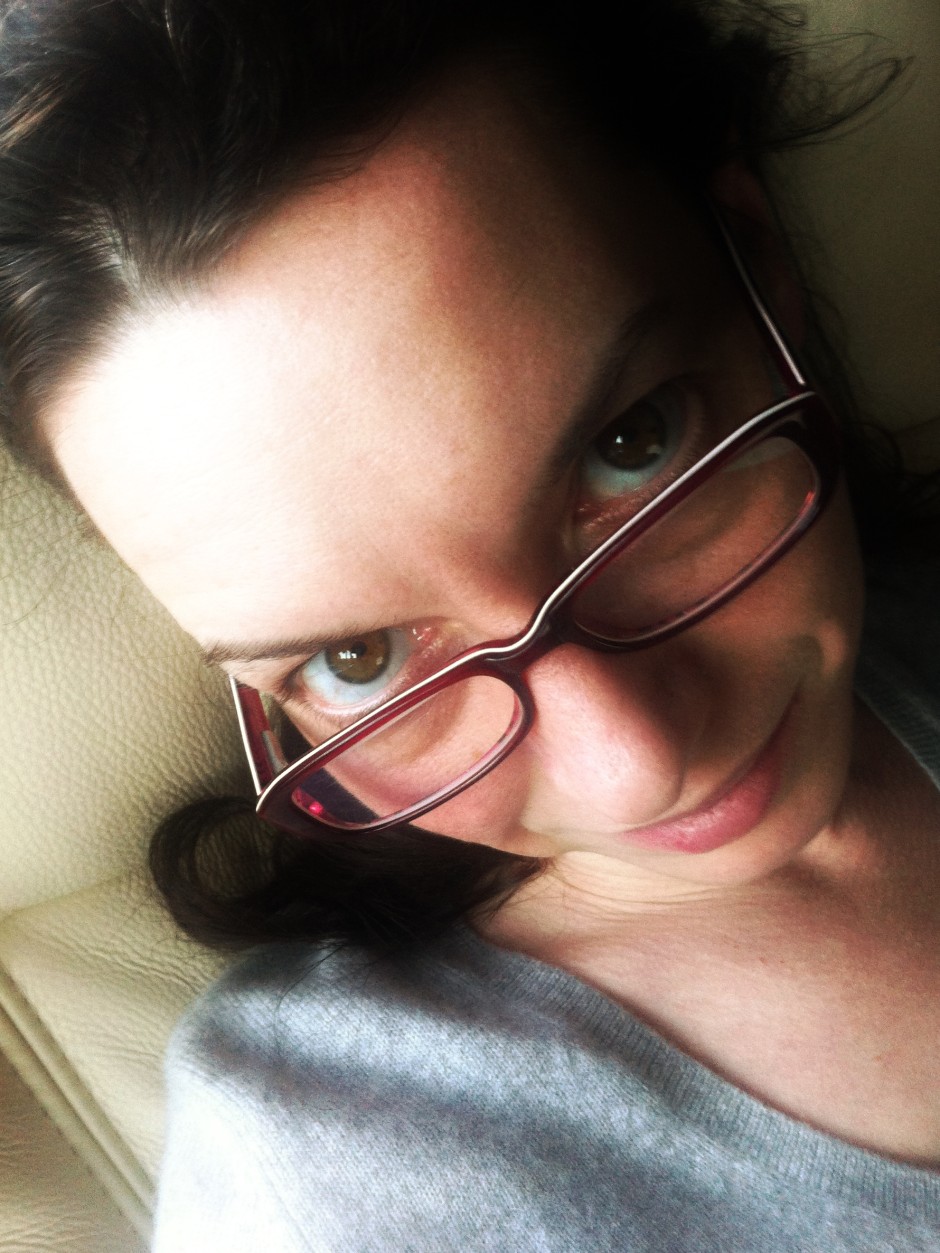
Me
Having tried increasing ambiance in Eva's portrait to unpleasant effect, I didn't even bother trying it with my self-portrait. Decreasing the ambiance, this time to -100, was effective, though. I'm not sure if I prefer the original (again, slightly cropped and heavily adjusted for white balance) image or the edited one, but it's a good demonstration of the tool and shows how it gives a more muted feel to your photos.
Having a swipe and swish with the ambiance slider is definitely something to be considered when you're fiddling with your smartphone photos. The general rule seems to be that left is great for portraits and go right a bit for still lifes. But every photo's different. And maybe 'ambiance' isn't such a terrible descriptor, either. One way is more lively and bouncy and the other more muted and moody. Just like the atmosphere can be at a party.