
Our introduction to photography takes a look at what to do after you've taken your photos.

When you've been out with your camera and recorded well-exposed, beautifully composed images onto its memory card, your next step is to weave a little post-processing magic. The art of post-processing isn't taking a sow's ear and transforming it into a silk purse. Whatever miracles Photoshop or Lightroom might be able to work, starting with high quality originals will render vastly superior results. Post-processing is about elevating the ordinary to the good and the good to the great.
Which editing programme?
We always recommend shooting your images in <a href="http://photocritic.org/why-you-should-take-photos-in-raw/" target="_blank">Raw</a>: it presents you with a far richer capability to control your photos and create images as you want them to be rather than as your camera thinks that they should appear, which is what happens with the JPEG format. There are exceptions, but as a general rule, stick to Raw. However, this will necessitate investing in an editing suite that's capable of processing Raw files. Team Photocritic are Adobe Lightroom users, but there are other programmes available at different price points and from developers that aren't Adobe. Go with what works for you.
Workflow? What workflow?
Your workflow—or pretty much everything that you do to a digital image file after you've created it—is something that you'll refine for yourself and I don't want to be too didactic about it. But to give you some pointers, this is the rough process that we use.
- Transfer your images to a hard drive, external or otherwise
- Import your images into your editing suite
- Name, apply metadata, and keyword your images—find a system and stick with it
- Back up your images to a different hard drive
- Weed your images and decide on those you'll focus your attentions—honestly, only about 10% of my photos ever see the light of day a second time. Be ruthless.
- Global edits—adjustments that affect the entirety of an image
- Local edits—adjustment that have an impact on a restricted area of an image
- Retouching
- Sharpen and export
- Back up, again.
Global edits
Global edits are adjustments that you make which affect the entirety of an image. They include white balance correction, exposure adjustments, and contrast tweaks. Over the years, I've come to split my global edits into two: those which I make to just about any photo and those which are optional. Some people will perform their crop before all other edits; other people go for white balance. I'm not that zealous about the starting point, but I do perform noise reduction and sharpening last.

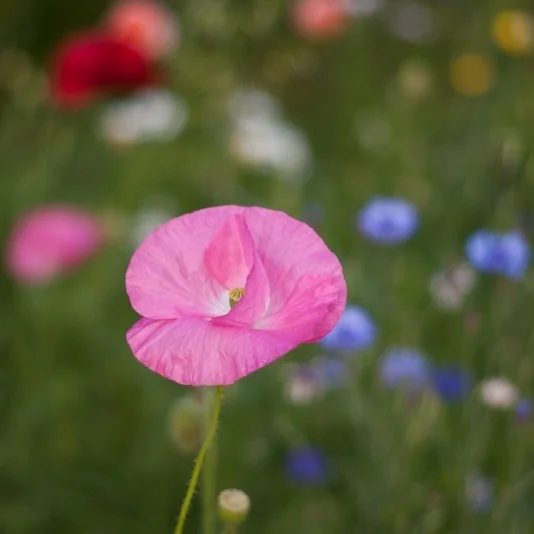
Cropped, softened, and toned down
Lens corrections
If you've found that your photo includes any distortion or aberrations, you might want to correct for them first. They might not be required, but if there's evidence of pin-cushion distortion, don't forget that it can be fixed.
White balance

White balance as shot
Whether you used a grey card, set your white balance in-camera, or are planning on deciding in post-processing, now is the time to adjust the temperature of your photos. If you're dealing with troublesome mixed lighting, use the light that's falling on your subject as your guide.
White balanced tweaked
Crop
A bit too centred
I'm using 'crop' as an umbrella term here, for when I crop, I don't just choose an aspect ratio, shave off a few pixels to improve the composition and draw attention to the subject, or cut out the mysterious appearance of an interloper in the background. I also ensure that my uprights are straight and that my horizons are level. It's important, but not too difficult.

A wee bit better
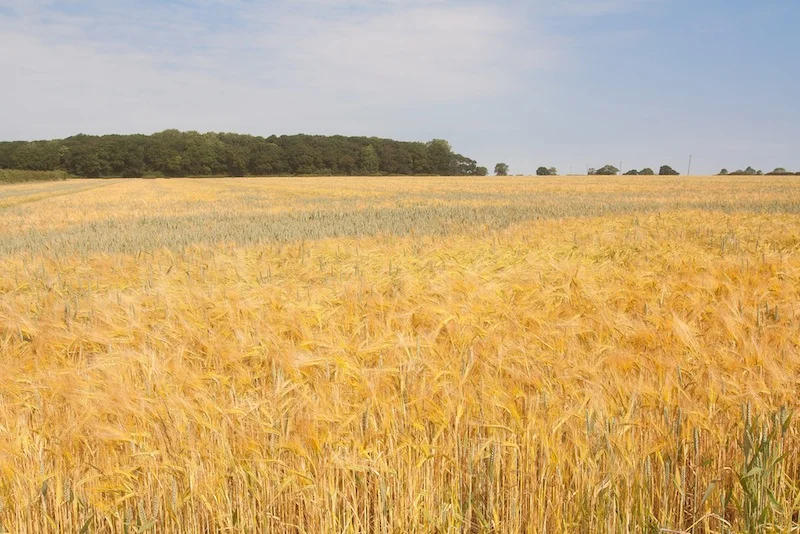
Contrast
Contrast is the difference in brightness between the light and dark areas in an image. Images with higher contrast tend to have a greater visual impact with deeper shadows and more pronounced highlights. To give you an idea of the effect of contrast, images that are taken on a foggy day tend to be low contrast.
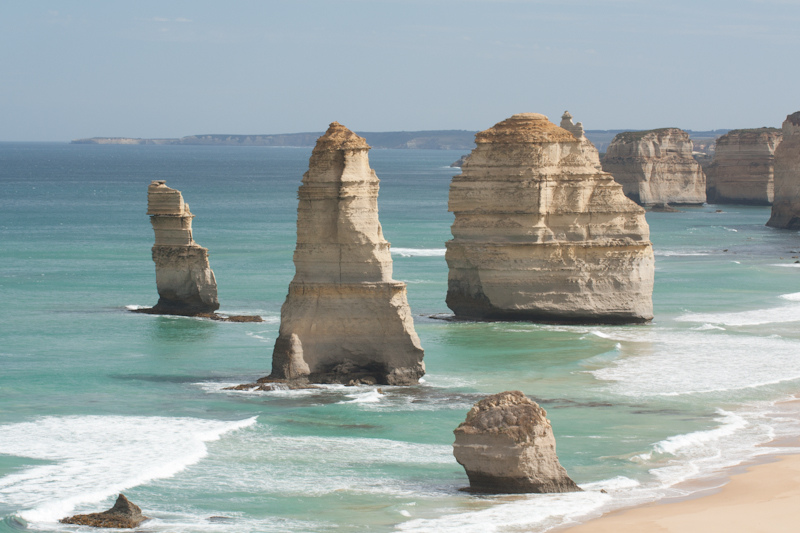
Unadjusted contrast
Fiddling with the contrast in a photo can, therefore, help to improve its intensity and depth. As with most things, don't over-do it, or you'll find that you photos lose too much detail in the shadows, but a few points here and there will likely improve it.
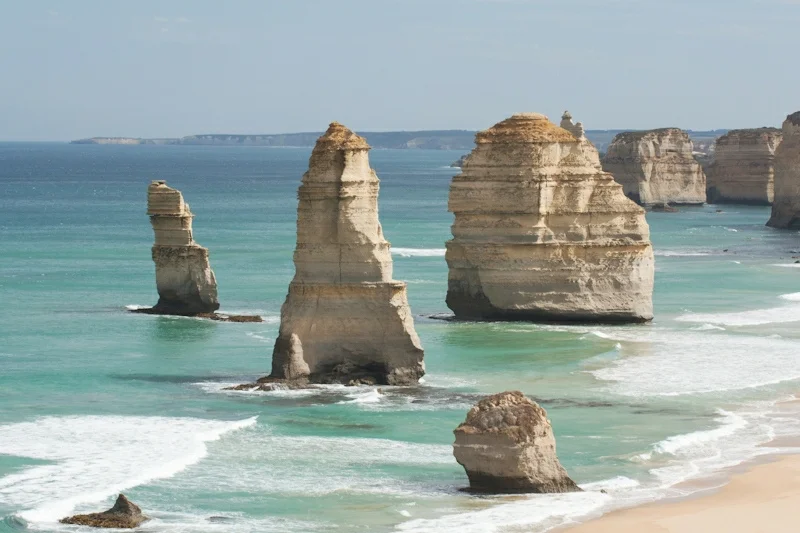
With increased contrast
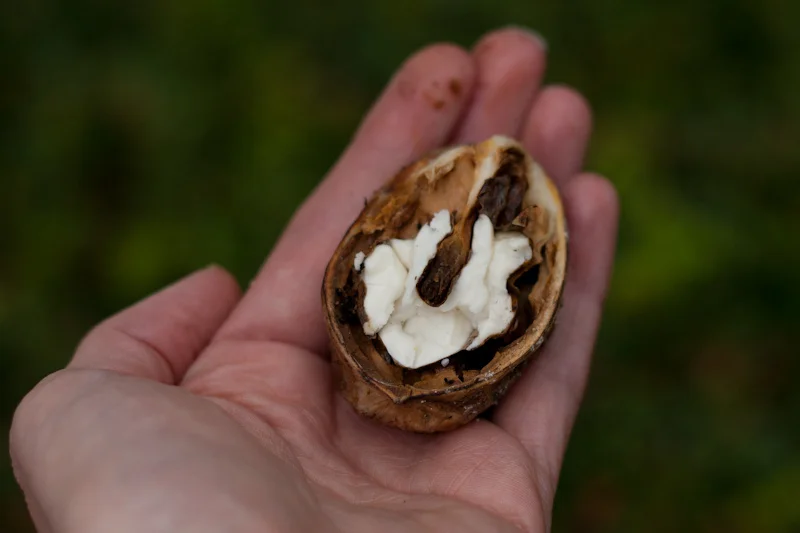
Noise and sharpening
Last on your list of global edits is noise reduction and sharpening. You might not need to smooth out the grain too much, especially if you were shooting at a low ISO: there's not very much that's attractive about plastic-wrapped subjects. But all digital images will require some sharpening. Don't overdo it, though. An over-sharpened image isn't pretty.
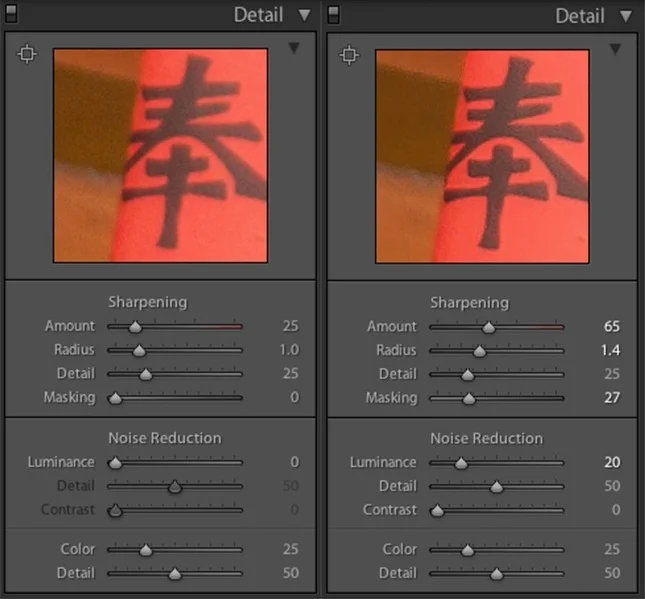
In Lightroom you'll find a selection of sliders to adjust the sharpness, but the important ones to focus on are Amount and Radius. Amount is fairly self-explanatory, it determines how much the edges of your pixels are refined. Radius controls the area around each pixel that is affected by the sharpening.
Optional global edits and local edits
Some global edits are optional extras, the same as local edits, which are applied to a limited portion of the photo as opposed to all of it. You might want to adjust the colour of an image by playing with the clarity, vibrance, and split-toning functions, as well as the hue, saturation, and luminance sliders. There's also the tone curve to help with the highlights and shadows and the ability to dodge and burn, too. Perhaps you think your photo will benefit from a vignette. These are all optional extras, but don't forget to apply them before you fiddle with the noise levels and sharpening.

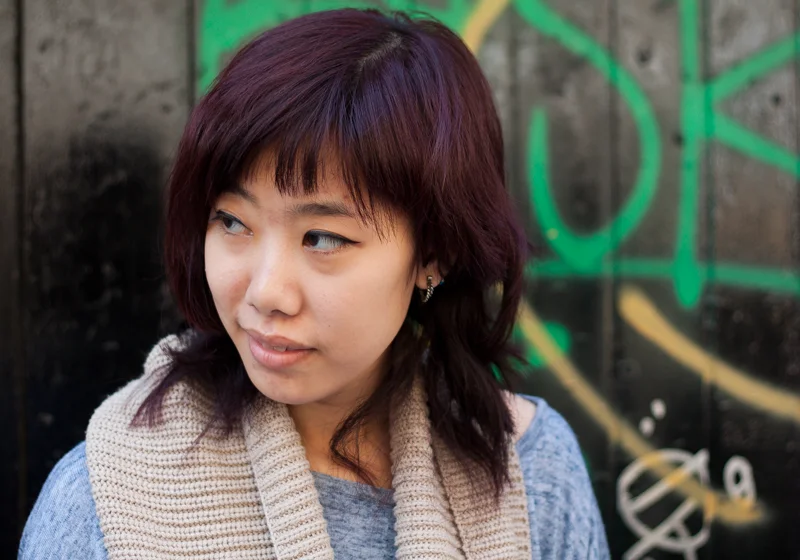
Retouching
There's no point in leaving a blemish on someone's chin or dust spots from your sensor obscuring a perfect blue sky. Grab a brush and paint them away.
Sharpen and export
When you come to export in Lightroom, you have the option to select a sharpening algorithm to apply to your photos depending on whether they're going to be printed or displayed on the web. Whatever our admonishments to not over-sharpen your images, it can worth ticking the appropriate box here. But do check with your print company if they need it first for printed images and if you're not resizing your photos on export it might not be necessary, either.
Lightning-fast introduction to lighting << I have a shiny new camera! Now what? >> ...