auto focus

An auto-focusing modes primer

Autofocus is such a wonder-tool in our cameras that I'm sure quite a few of us have no idea how we ever managed to take tack-sharp photos without it. But how many of us actually use it to its full potential? There's a bit more to auto-focus than the single or one shot default. Without further ado, here's a quick primer into the different auto-focusing modes you're likely to find on your camera, and when best to make use of them.

One or Single shot

This is probably what you think of as 'auto-focus'. You point your camera at your subject, you line up your auto-focusing points over it, you half-depress the shutter button, and the camera attempts to focus on the subject. When it finds focus, it 'locks' onto it until you complete the depression of the shutter button or release it and re-focus your shot. This mode is great for most subjects that don’t move a lot.

The apples weren't going anywhere; one shot was just fine

Canon calls this mode 'One shot'; you'll see it marked as 'AF-S' on Nikon, Fujifilm, and Sony cameras; Olympus refers to it as S-AF and Pentax as AF.S.

Continuous or Servo mode

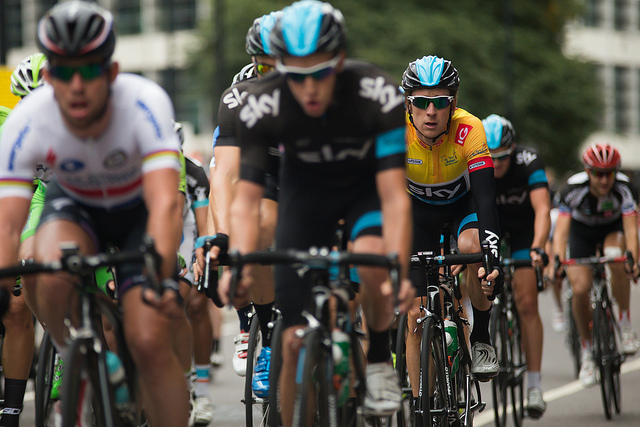
When you're shooting fast-moving subjects and want to keep them in focus, try using continuous or servo mode. While you half-depress the shutter release button, the camera will repeat the auto-focusing operation in order to keep your subject sharp as it moves across the frame.

Tracking something fast moving? Try AI Servo or AF-C mode.

Canon reckons its servo mode can track subjects approaching or receding at upto 50 kilometres per hour, making it good for capturing plenty of sports.

Nikon, Fujifilm, and Sony refer to this mode as AF-C; it's marked as AI Servo on Canon cameras; on a Pentax you'll see it as AF.C; and it's C-AF on an Olympus camera.

Intelligent or Automatic auto-focus

'Intelligent' focus is a half-way house between single shot and continuous auto-focus. When you half-depress the shutter button, the camera is set to recognise movement in the subject. For subjects that don't move, the camera will use one shot auto-focusing. Should it detect movement from the subject, it will automatically switch to continuous auto-focus and start to track the subject.

Animals (and children) often favour AF-A mode

While this mode might seem like the best of both worlds, and it can be very handy particularly if you're photographing children or animals, it can sometimes be a bit of a let-down and isn't quite fast enough to deliver the results you want.

Canon calls this mode AI Focus AF. It's AF-A on Nikon and Sony cameras, while Pentax refers to it as AF.A.

Manual focus

It was learning to align the focusing markers in an SLR that first got me hooked on photography, almost 30 years ago. Back in the early 80s, auto-focus was only just beginning to make its way into cameras. Now we often wonder how we cope without it. But still, there are times when auto-focus simply won't do and you need to switch to manual focus, maybe for macro shots or some landscapes. If there's no obvious manual focus option on your camera, try looking on your lens: there's likely a switch to be flicked there.

Macro shots can benefit from manual focus (Image by Haje)

Often, but not always, your camera will help you by beeping or flashing when it thinks that you might have achieved focus on your subject. If you're using live view rather than through the lens, try using the manual focus assist option that lots of cameras have now. Rather than displaying the full frame, it zooms in on the area where you've focused, making it easier to hone in with precision on your subject. It's a useful tool to demonstrate just how big a difference a small adjustment can make to your focusing, too.

Exploiting your camera's capabilities

Your camera is gifted with heaps of different tools to help you get the shots that you envisage; there's more to it than exposure and metering. Don't forget to make use of them - that's why they're there!

Get the eyes in focus.

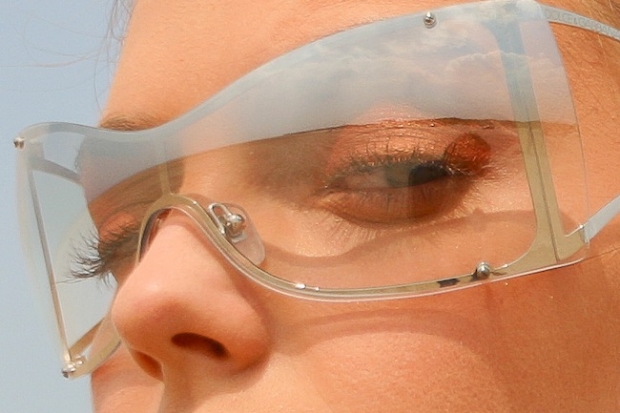
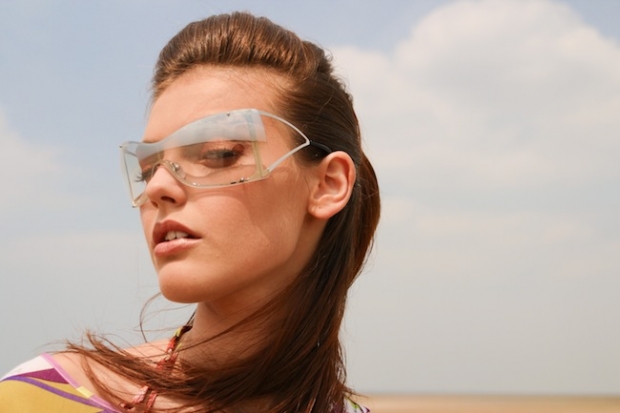
The very first thing you need to know about getting people to look awesome, is that their eyes have to be in focus. This is absolutely, completely non-negotiable. If they have their eyes open, get them in focus. If they have them closed – get them in focus. Is your model wearing sunglasses? Well, get them in focus. You see where I'm going with this.

The reason for focusing on the eyes is simple: Whatever your photo, this is really where you want your audience to be looking. In a good portrait, the eyes are a window into the soul, and if you want to move people with your shots, it's important to get (make) that 'connection'.

As you are starting out on your journey of improving your portraiture concentrate 100% on getting the eyes right. Trust me: everything else will eventually fall into place.

Focusing and composing your portraits

If the eyes are so incredibly important, how can you ensure that you get them in focus? Taking a photo is a multi-step process. First of all, check your camera settings. Is your camera in the right file format? Are you in the correct auto-focus mode? Is your camera in the camera mode you were planning to use? Is your ISO set correctly?

Next, Check your exposure. If you're shooting in Program, Aperture-priority or shutter-priority mode, you need to ensure that you haven't changed the exposure bias. If you have ventured into manual exposure, you should check whether you've dialed in a useful aperture. And if you are in a fully automatic mode, you should buy my book and turn to chapter 3 - and be deeply ashamed of yourself.

The final steps are to focus and compose your image:

Step 1

04_05_20030625_img_2487_v1.jpg

The first step to get your focus right is to zoom in all the way on the eyes of your subject. This helps the camera's focusing mechanism get the focus right, and it reduces the risk of the camera focusing on the wrong thing. Obviously, if you are shooting with a prime lens (i.e. a non-zoom lens), this step doesn’t apply.

Step 2

04_06_20030625_img_2487_v2.jpg

Now, half-press your shutter button. Your lens will attempt to focus. Since you've zoomed all the way in, it will be very clear when your subject is properly in focus. If your lens gets it wrong somehow, let go of the shutter button and half-press it one more time. Once your subject is in focus, keep the shutter half-pressed.

Step 3

04_07_20030625_img_2487_v3.jpg

Now, whilst keeping the shutter button half-way down, you can zoom back out, and compose your photo. Take your time, there's no rush.

Step 4

04_08_20030625_img_2487_v4.jpg

When you're happy with the way your photo looks through the viewfinder, all you need to do is to press the shutter all the way down, and your camera will take the photo.

Finally, you edit your photo to your liking, and bonza - you're ready to go. How you can edit your portraits for best effect is, of course, also covered in Focus on Photographing People.

Like this quick tip?

If you enjoyed this quick tip, there's loads more where this came from. My newest book, Focus on Photographing People, is chocker-block with hundreds of photos, tons of tips, and fist-fulls of advice: All to help you become a better Photographer of People. Find out more about the book on my website, and then head to your nearest brick-and-mortar or online bookshop to buy yourself a copy!


Do you enjoy a smattering of random photography links? Well, squire, I welcome thee to join me on Twitter -

© Kamps Consulting Ltd. This article is licenced for use on Pixiq only. Please do not reproduce wholly or in part without a license. More info.

Front focus? Back focus?

Many of us trust our autofocus implicitly – because it’s just one less thing to worry about, really. But what when the lens starts to do weird stuff? My mate Chris over at DSLR Blog has the skinny…

If you auto-focus on an object the camera will attempt to fix the focus at the correct distance between the camera and the object.

Front focusing is when this calculation goes wrong and it focuses before the object, back focusing is where it incorrectly focuses behind the object. Either way what you achieve is a photograph where the focus is in the wrong place making your object blurred or soft.

Manually focusing still works but in effect something is wrong with either the lens or the camera.

Some more info, along with tips as to how you can test for these problems, in the Front and Back Focussing Explained article.