


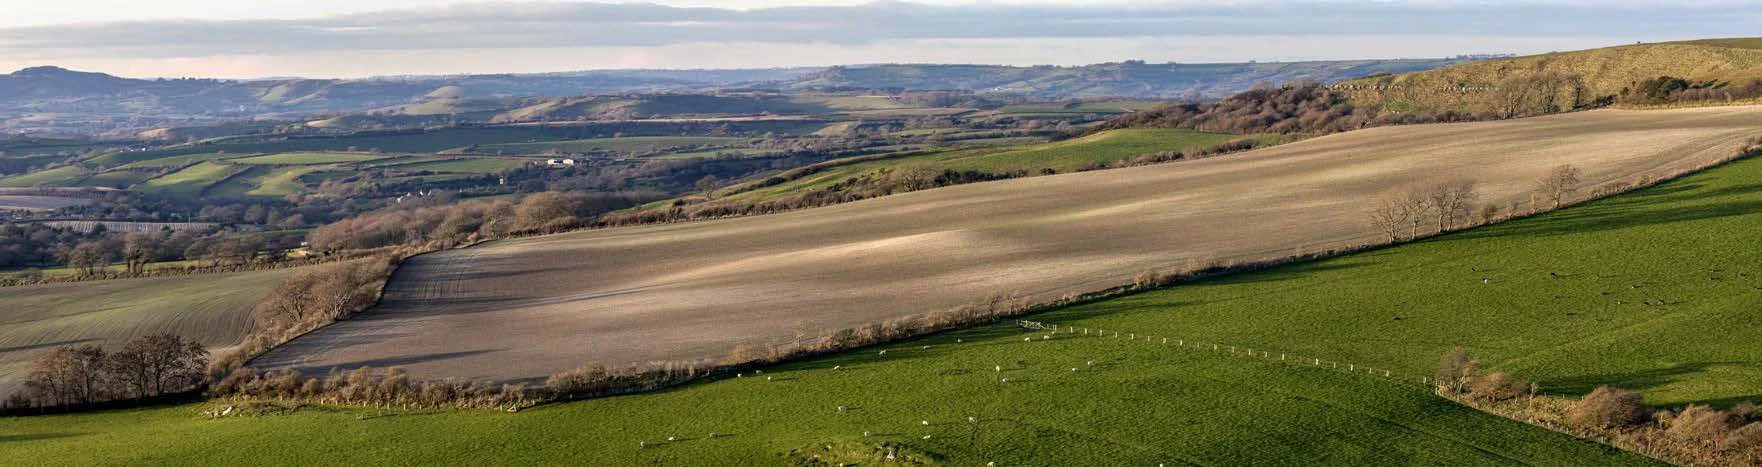
Beautiful vistas don't have to be difficult to capture panoramically. Read our simple step-by-step guide.

When you hear the term 'high-res' thrown about with such abandon when it comes to images for web use, have you ever stopped to think just how big or how high quality and image meant for the web needs to be?
There's an assumption that high-contrast images are more dynamic, more compelling, more inviting. Have a go at some low-contrast photography. You might surprise yourself with the results.
Balance doesn't mean symmetry; it means an internal consistency and tension within your photos. And it's a vital element of composition.
Great photos might be down to a little bit of luck, but most of that 'luck' you make yourself. Don't believe us? Read on...
Autofocus is such a wonder-tool in our cameras that I'm sure quite a few of us have no idea how we ever managed to take tack-sharp photos without it. But how many of us actually use it to its full potential? There's a bit more to auto-focus than the single or one shot default. Without further ado, here's a quick primer into the different auto-focusing modes you're likely to find on your camera, and when best to make use of them.
This is probably what you think of as 'auto-focus'. You point your camera at your subject, you line up your auto-focusing points over it, you half-depress the shutter button, and the camera attempts to focus on the subject. When it finds focus, it 'locks' onto it until you complete the depression of the shutter button or release it and re-focus your shot. This mode is great for most subjects that don’t move a lot.

Canon calls this mode 'One shot'; you'll see it marked as 'AF-S' on Nikon, Fujifilm, and Sony cameras; Olympus refers to it as S-AF and Pentax as AF.S.
When you're shooting fast-moving subjects and want to keep them in focus, try using continuous or servo mode. While you half-depress the shutter release button, the camera will repeat the auto-focusing operation in order to keep your subject sharp as it moves across the frame.
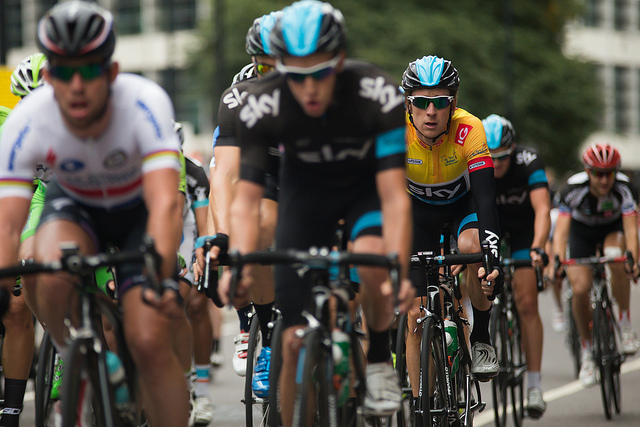
Canon reckons its servo mode can track subjects approaching or receding at upto 50 kilometres per hour, making it good for capturing plenty of sports.
Nikon, Fujifilm, and Sony refer to this mode as AF-C; it's marked as AI Servo on Canon cameras; on a Pentax you'll see it as AF.C; and it's C-AF on an Olympus camera.
'Intelligent' focus is a half-way house between single shot and continuous auto-focus. When you half-depress the shutter button, the camera is set to recognise movement in the subject. For subjects that don't move, the camera will use one shot auto-focusing. Should it detect movement from the subject, it will automatically switch to continuous auto-focus and start to track the subject.

While this mode might seem like the best of both worlds, and it can be very handy particularly if you're photographing children or animals, it can sometimes be a bit of a let-down and isn't quite fast enough to deliver the results you want.
Canon calls this mode AI Focus AF. It's AF-A on Nikon and Sony cameras, while Pentax refers to it as AF.A.
It was learning to align the focusing markers in an SLR that first got me hooked on photography, almost 30 years ago. Back in the early 80s, auto-focus was only just beginning to make its way into cameras. Now we often wonder how we cope without it. But still, there are times when auto-focus simply won't do and you need to switch to manual focus, maybe for macro shots or some landscapes. If there's no obvious manual focus option on your camera, try looking on your lens: there's likely a switch to be flicked there.

Often, but not always, your camera will help you by beeping or flashing when it thinks that you might have achieved focus on your subject. If you're using live view rather than through the lens, try using the manual focus assist option that lots of cameras have now. Rather than displaying the full frame, it zooms in on the area where you've focused, making it easier to hone in with precision on your subject. It's a useful tool to demonstrate just how big a difference a small adjustment can make to your focusing, too.
Your camera is gifted with heaps of different tools to help you get the shots that you envisage; there's more to it than exposure and metering. Don't forget to make use of them - that's why they're there!
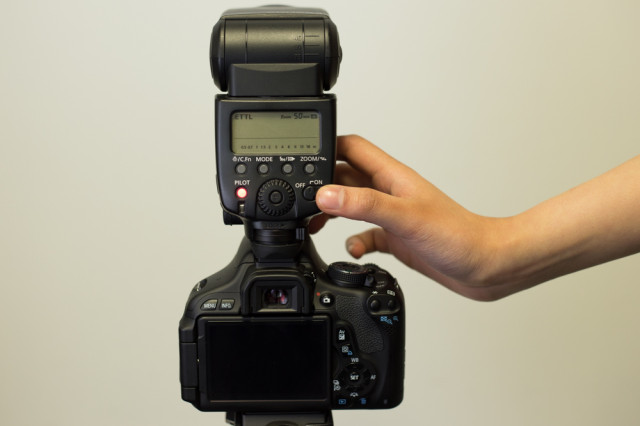
Once you've got a proper handle on your camera and what it's capable of, and you've built up an understanding of your lenses, you might find that you want to extend your photographic experimentations to flash so that you can create alien space lemons and bright and breezy high-key portraits. It's probably easiest to start out using through-the-lens (TTL; iTTL; or eTTL) metering, but much the same as you progress and take more control over your camera, there will probably come a point when you need to exert more control over your flashes and have to change the mode to manual. Adding a new variable into any mix can be a daunting prospect, but don't let it put you off. It's another skill to master and put to use.
TTL stands for through the lens metering. Rather than you dictating how much power your flash puts out, your camera and your flash will combine to make the calculation. It does this by emitting a small pre-flash to determine how much light is required for the scene and your camera settings.
The primary advantage of TTL metering is that you don't need to think too hard, so when you're photographing an event or something fast-moving, you won't miss your shot for need of fiddling.
But if you need consistency in your exposure between shots, then TTL isn't very useful. You'll have to switch to manual mode.

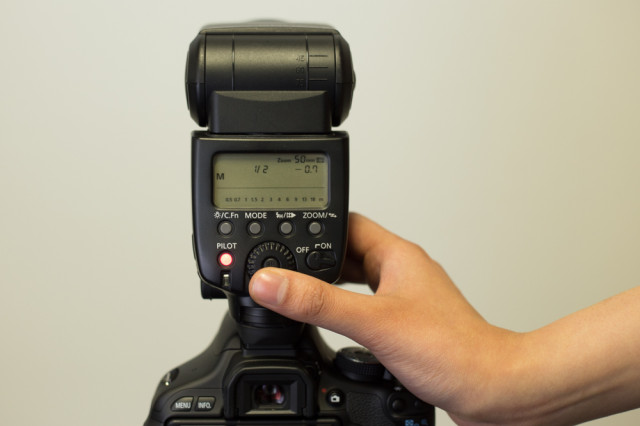
Much like using manual mode on your camera gives you complete control over your exposure, manual mode on your flash gives you complete control over the power it emits. Between them, they will provide you with consistency.
The power out-put on a flash is typically displayed as fractions. Full power is 1/1; the least powerful setting is usually 1/128.
Don't forget that if you set your flash to full power, it'll be working at its hardest and will take longer to refresh in between shots.
When you're experimenting with your flash, you might want to set the power to 1/16, which is roughly half-power. You won't have too far to move in either direction if you need to make adjustments.
Your camera and flash need to synchronise in order for the sensor to be able to detect the flash. Open the shutter for too short a period of time and it won't be able to catch the flash, rendering the entire process futile. Cameras, therefore, have a maximum shutter speed that can be used in conjunction with an off-camera flash; it's known as the sync speed. The maximum sync speed tends to be 1/125 second, but do check your camera's manual to be sure.
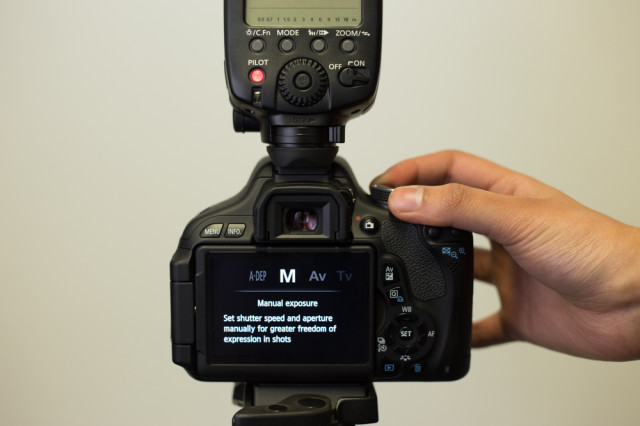
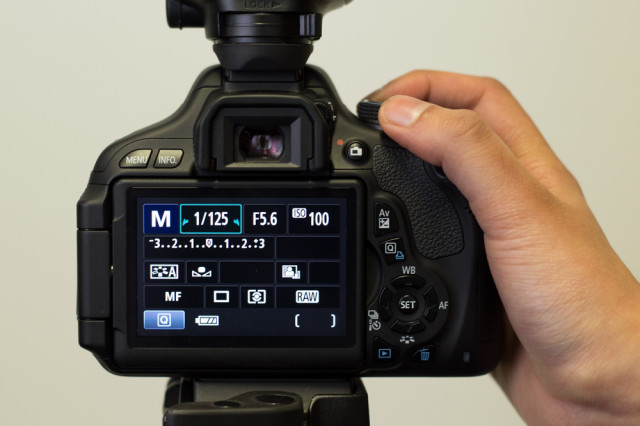
Seeing as you'll be using manual mode on your camera, you'll need to be certain of the impact that altering shutter speed, aperture, and ISO will have on your exposure.
First: changing your shutter speed will not have an impact on your flash exposure. Shutter speed will have an impact on ambient light. Want more ambient light? Use a slower shutter speed.
Second: adjusting your aperture will have an impact on your flash exposure.
Third: ISO has an effect on both flash and ambient exposure.
Now that the theory is in place, how about some practical photography?
Turn on the flash and set it to manual. This is normally achieved by cycling through the MODE button on most flashes. If you’re not sure about this bit, check the information in your flash manual.
Now you can adjust the power by pressing the arrow keys. 1/1 is full power, and each click down will decrease the power.
Place the flash on the hotshoe of the camera, or attach the lead or radio trigger if you're using either of those, and switch on the camera. In manual mode, set the shutter speed to 1/125 second and adjust your aperture and ISO.
Take some photos!
If your images are too bright you can:
If your images are too dark, do the opposite!
Experiment with different combinations of flash power, aperture, and ISO to get a feel for what you can achieve with flash photography. After that, the world is your playground!
For a video version of this tutorial, here's Team Triggertrap explaining things: