We're accustomed to taking photos with what is somewhat uninspiringly referred to as 'visible light', or the part of the spectrum whose wavelengths measure roughly 400 nanometres (violet) to 750 nanometres (deep red). However, there's an awful lot more to light than just the wavelengths we're able to discern with the naked eye, and it's possible to take photos using that 'invisible light'. In particular we can make use of infrared light (IR), which picks up at 750 nanometres, where visible light drops off, and stretching to approximately 20,0000 nanometres.
Lots of people think that IR photography is the preserve of specialist infrared adapted cameras, with 'normal' cameras being insensitive to IR light owing to the 'hot mirror' that sits just before the sensor. However, these hot mirrors aren't 100% effective, and with the help of an IR pass filter, you can capture images made with infrared light.
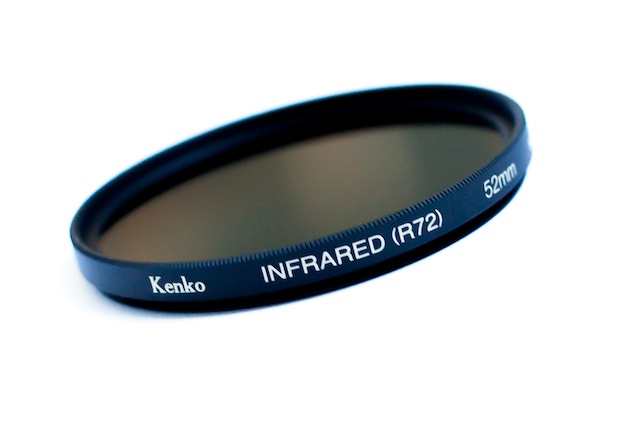
The most common filter is probably the Hoya R72, which is easy to pick up in a camera shop or over the Intergoogles. It won't allow you to capture IR waves at more than 1,300 nanometres, but that should be enough to start. You can always invest in an IR-adapted camera if you find that it really floats your boat.
Got your IR pass filter? Want to give it a shot? Off we go!
IR photography will present you with several hurdles: focusing, exposure, and post-processing. Overcoming all of them is more a case of trial-and-error than hard-and-fast rules and to be fair, that's half of the fun!
1. Choosing a scene
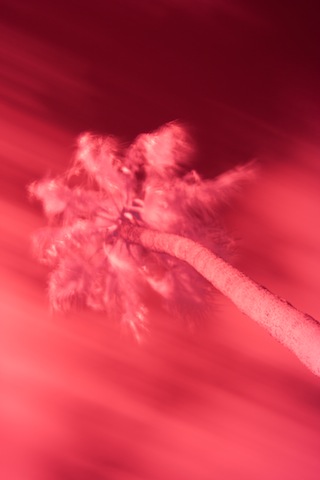
Okay, so you can pretty much photograph anything in IR, provided that there's some light around. However, the most stunning IR images tend to involve foliage, which comes out as bright white, and blue skies or water, which look deeply intense. But that's all after a bit of fiddling. More on that in a moment.

Whatever you choose to photograph, it's not going to be a quick process, so you need to be somewhere that won't put you in people's way or get you into mischief. And it needs to be suitable for a tripod, too.
2. Focusing
The difficulty that you’ll encounter with focusing comes as a result of the IR filter; it blocks out the majority of visible light passing through the lens, leaving you with a dark viewfinder. You don’t have anything to work with when you’re focusing your lens. This means that you have to put your camera into manual focus and set up your shot before placing the IR filter over your lens.
Setting up your shot and then placing the filter over your lens is a bit of a faff, but seeing as you’ll be using a tripod anyway (more on that in a moment), it shouldn’t be too infuriating.
3. Exposure
As for exposure, you’re going to need to use a slow shutter speed, probably between ten and 30 seconds, to allow enough IR light to reach the sensor to expose it sufficiently. This is where your tripod comes in, obviously, as you’ll never manage to hold your camera steady for that length of time. Long exposures also have a tendency to noisiness, so use as low an ISO as you can manage, too.
4. False colour
Don’t be surprised if your infrared photos emerge from your camera with strong red or magenta casts; this is known as false colour. It’s normal and it’s a simple fix in Photoshop to produce a 'traditional' looking infrared photo. If there is such a thing. It involves shifting the white balance to 2000 Kelvin and then flipping the levels in the blue and red channels. In short: open the blue channel and slide 'Red' to 100% and 'Blue' to 0%; in the red channel, 'Blue' needs to be at 100% and 'Red' at 0%. You might want to adjust the contrast and brightness, but that's the basics.
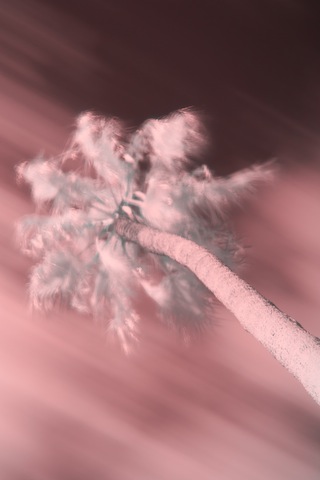
5. You don't have to use Photoshop
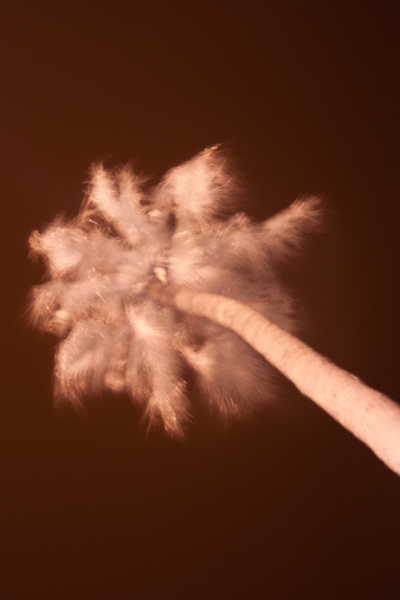 However, there's a lot of fun to be had by simply playing around with other editing packages to produce ethereal-looking images. With something like Lightroom you might want to try:
- Fiddling with the white balance and tint sliders to produce subtle pink or flaming orange images, and everything in between
- Playing with the hue and luminance sliders to alter the colour mix of the photo
- Converting to black and white and using the black and white mix sliders to adjust the look of the image
Really, there's no right or wrong and the range of impact that you can have with an infrared image is enormous. It's a lot of fun.
6. Hotspots
Some lenses are prone to producing ‘hot spots’, or patches of much brighter exposure that are usually, and most inconveniently, in the centre of the image. There’s very little that you can do about this in camera except to try a different lens. Prime lenses seem to be less prone to hot spots, but there are no guarantees, and using a smaller aperture will reduce its size. It's possible to try to correct it in post-processing, too.
What are you waiting for?


 1) Go into a camera store, buy a roll of slide film. (120 film is great, because it has larger surface area and no sprocket holes). If you can get film that is out of date, it’s cheaper. They may even give you a roll or two for free.