night

12 suggestions for low-light photography

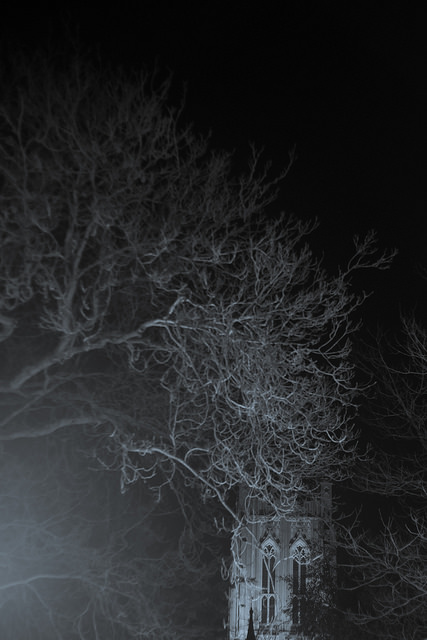
Here in the northern hemisphere, the shortest day is fast approaching and whether we like it or not, much of our photography will be of the low-light variety. We've put together some suggestions for coping as best you can when things are a little dim and the light with wish you wish to draw is a scarce commodity.

Look for the light

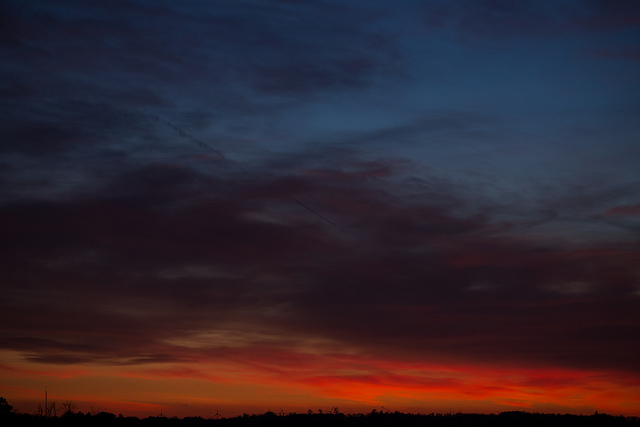
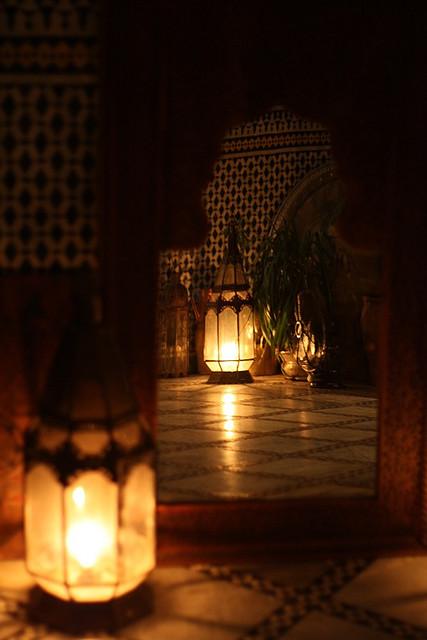
This might sound terribly obvious, but it's a fundamental of photography: look for the light in your scene and use it to your advantage. Use the light from streetlamps, from candles, from the moon to illuminate your subject—even be the subject—and create interesting shadows in your photos.

Back-lit by nothing more than a candle

Do not be afraid of high ISO

While a too-high ISO can be responsible for noisy, grainy photos, advancements in sensor technology mean that it's possible to push ISO much higher than was previously acceptable to get the shot you want. Remember: a little grain can be better than motion blur; if you shoot in Raw, images can be cleaned up; a black and white conversion can produce noise-negating miracles.

Push up the ISO

Open up your aperture

The wider the aperture you select, the more light you'll let onto the sensor and the faster shutter speed and lower ISO you'll be able to use. This will of course come with the caveat of a shallower depth-of-field, but that can be applied creatively.

Watch your shutter speed

A slower shutter speed will permit more light to reach the sensor, but it also has the potential to introduce motion blur if it isn't sufficiently fast to freeze the action in your scene, as well as camera shake if you're hand-holding your camera. Sometimes, however, motion blur contributes to the story that you wish to tell, so don't dismiss it entirely.
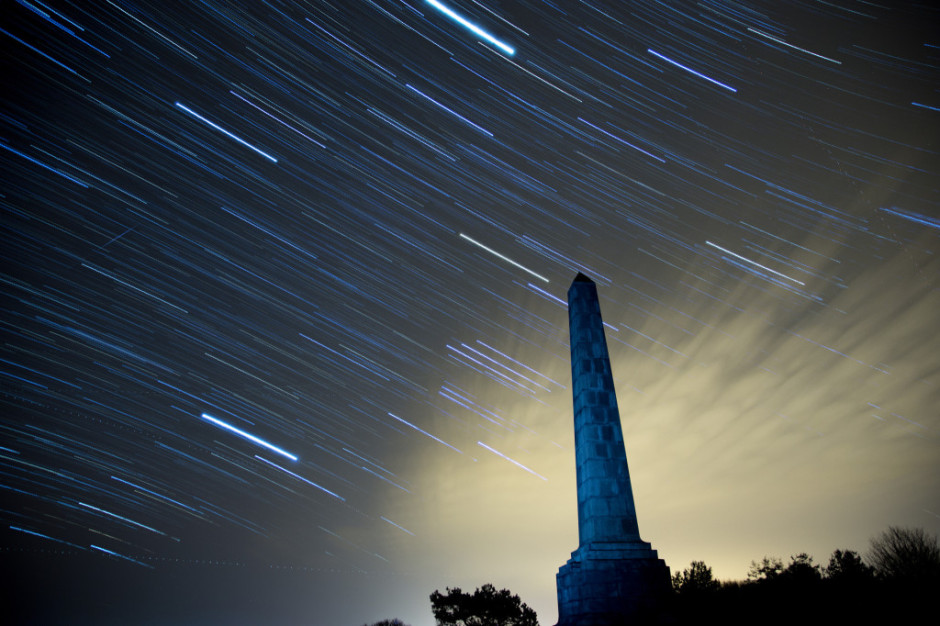
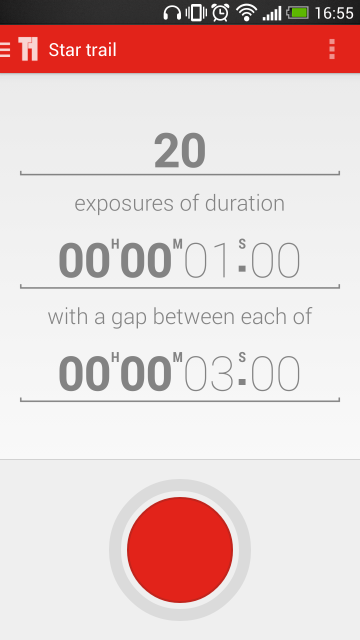
Consider a tripod

The general rule for hand-holding a camera is that you shouldn't do it if your shutter speed dips below the inverse of the focal length of the lens you're using. Thus, for a 50mm lens, you shouldn't attempt to hand-hold your camera using a shutter speed slower than about 1/60 second. If you find that you need to go slower, you might wish to bring out your tripod. Think about a remote shutter release, too.

It was chilly, but the tripod meant that it wasn't a pointless endeavour

Which metering mode are you using?

If you adhere to matrix or multi-segment metering, your camera will attempt to adequately expose the entire scene. That might not be what you want if you're looking to play with light and shadow. For dramatically lit shots, switch to spot metering and meter from the illuminated area that you wish to be in focus. This will maintain dark shadows while correctly exposing the point-of-focus.

Spot meter for specific light

Dial in some exposure compensation

Spot-metering might not be appropriate for your scene, but at the same time, matrix or multi-segmented could render it over-exposed. If that's the case, try dialling in a stop or two of negative exposure compensation.

How are you focusing?

Auto-focus can struggle to hit its mark in low-light situations, in which case manual focus might render better results if you're both confident enough using it and the scene isn't changing so fast that you miss the photo opportunity. Should auto-focus be the better option, ensure that you're using one-shot auto-focus. Try, too, shining a light where you wish your camera to focus. The illumination will assist it in locking-on to the point-of-focus.

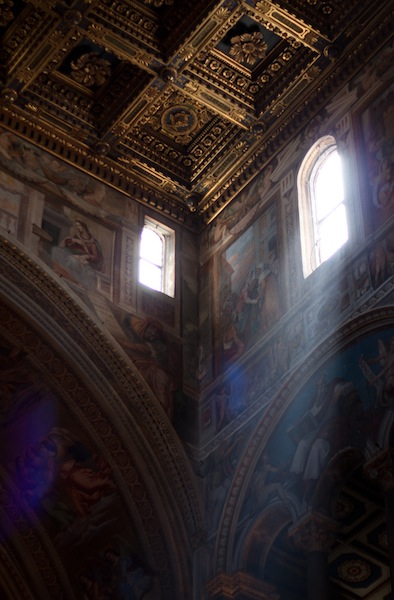
Make use of reflection

Whether it's reflection off of pale clothing, off of glass, polished metal, or liquid, or from a reflector, keep an eye out for reflected light and put it to use in your shots. That might be making reflections on water the focus of your photo, but it can also be bouncing back reflected light to illuminate shadows.
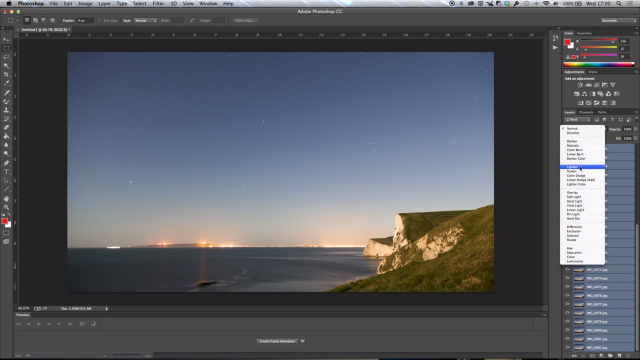
The reflections made this photo

Shoot in Raw

If you're not already shooting in Raw, switch now. Not only will help you to tidy up any noise in your shots, or even to adjust the exposure a little if necessary, but it will allow you to adjust the white balance of your photos more effectively. Accurately white balancing low-light shots can be tricky; the more flexibility that you have, the better.

White balance

How warm or cool is your light source? Or are you working with mixed light sources? If you're shooting by candle light, you can set the light temperature on your camera to more accurately render colours in your photos. For mixed-light sources, remember to white balance according to the light falling on your subject. If you're shooting in Raw, you might find that adjusting the white balance in post-processing will give you the most accurate result.

What's the light temperature of a log fire?

Use the darkness

Finally, have fun with the darkness and put it to creative use. Let reflections dance or shadows draw you in to moody scenes. Low-light might force you to think for a moment, but remember that you often have longer than you think you do, and experimenting is half the fun.

My family got bored and wandered off, but I soon found them

Shooting star trails

Star trail photos can be incredibly compelling and while they take time to produce, they're probably not as difficult as you might think they are. In fact, there are two methods that you can use to capture the night sky with the stars streaking across it: a single long exposure or what effectively amounts to a time-lapse composited into a single image. This is our guide to shooting star trails. Star trails by Thomas Langley (thanks to Triggertrap)

Location

Light pollution can be a pain when you're attempting to shoot a star trail photo. If you're not able to see the stars, your camera won't be able to, either. Should you live in a city, this means looking for a location that's suitably isolated to give you a view of the sky, but isn't so isolated that you make yourself vulnerable. And if you don't live in a city, you still need to be somewhere accessible.

You also want to think about your scene. You might find that having something of interest in the foreground of your shot will improve it. Barns, dilapidated or otherwise, obelisks, and rock formations are all good starting points.

By finding Polaris and focusing on that, you'll produce a circular star trail; point your camera somewhere else in the sky and your trails will be more linear.

Timing

The best time of year for shooting star trails is definitely dependent on personal preference. How long you can manage safely in the cold is probably your primary concern. But you do need to be shooting on a cloudless night with no or little moon.

Setting up

Once you've decided on your location and set up camp with warm clothes, thick boots, and a thermos flask, it's time to set up your camera.

Camera

Set your camera on its tripod; place it in manual mode and switch the lens, preferably a wide-angle one to get as much sky in the shot as possible, to manual focus, too. Frame your shot—ideally with something of interest in the foreground—with the lens focused to infinity.

When it comes to exposure, you need to be in bulb mode, the aperture should be as wide as possible, and try ISO 1,600.

Take a test shot with a exposure time of 30 seconds; if the stars are bright and clear, you're ready to go. If it looks a little dark, adjust the exposure time until you're happy.

Camera trigger

If you're using an intervalometer, you need to set it to record as you would for a time-lapse video, using the exposure time you tested for.

Choose your exposure time, number of exposures, and the intrval between them

If you're using Triggertrap Mobile with its star trail mode, set the exposure time that you established in testing with a two second interval between frames, and select the number of frames you want to take. You can choose a huge number of frames and stop after half an hour or 45 minutes of shooting if you're not certain how long you need to be out there for.

Hit go!

That should be about it. Hit go and wait for your camera and the universe to work its magic. Do remember to keep warm and safe!

Compilation

When you've accumulated all the images that you need, it's time to compile them into a single image with the help of some software. If you have Photoshop, that's perfect. If you don't, there are other options including the star-trail-specific StarStax.

A stack of images

Transfer your images from the memory card to your harddrive, keeping them in a single folder with their original file numbers. Whichever programme you use, this is important to ensure that the images don't get out-of-synch. The rest of this tutorial uses Photoshop to assemble your star trail shot, but you should be able to extrapolate the process to any other programme.

Import your images

Open Photoshop and import your star trail images using File –> Scripts –> Load Files into Stack. Select your folder of star trails photos, highlight all of the photos, and then select Open followed by OK.

Stack importation makes life easy (Image thanks to Triggertrap)

Blending

When all of your photos have made their way into Photoshop, select all of them in the Layers panel, and then in Blending Mode select Lighten. Tah-da! You should have a star trail composite.

Blend them together for your final image (Image thanks to Triggertrap)

You can make adjustments to individual layers if you want, but otherwise, you're done and it's a case of saving. (You might want to save an unflattened PSD file and a flattened JPEG version.)


Much of this, including all the images, is based on the fantastic How to capture a star trail tutorial found on Triggertrap's How-To microsite, and it's reproduced with permission. Triggertrap How-To is full of great content for making the most of your camera. You should take a look.