Balance doesn't mean symmetry; it means an internal consistency and tension within your photos. And it's a vital element of composition.

When you hear the term 'high-res' thrown about with such abandon when it comes to images for web use, have you ever stopped to think just how big or how high quality and image meant for the web needs to be?
There's an assumption that high-contrast images are more dynamic, more compelling, more inviting. Have a go at some low-contrast photography. You might surprise yourself with the results.
Balance doesn't mean symmetry; it means an internal consistency and tension within your photos. And it's a vital element of composition.
Great photos might be down to a little bit of luck, but most of that 'luck' you make yourself. Don't believe us? Read on...
For all that our cameras are capable of rendering the world in glorious Technicolor, their light meters are remarkably simple: they can only 'see' in shades of grey. When a light meter attempts to judge the correct exposure for a scene, it does so under the assumption that the scene's average brightness is middle grey (18% grey), which is exactly half-way between absolute black and bright white.
Historically, split toning was used when developing photos from negatives. Two different toners would be used one after the other in order to produce different colours in the highlights and shadows of an image. For example, follow selenium with gold and you'll produce purple-blue mid-tones; or use sepia and then blue for sepia highlights, blue shadows, and green mid-tones. The effect could be altered by using different papers, too. While chemical split toning isn't an exact science, it does offer some compelling effects for your photos and can give them an entirely different feel. You can use it to add warmth or to cool down an image; you might want to introduce a blue tint, or an orange cast.
Now, split toning is more likely to be achieved using the dedicated split toning panel in Lightroom, or with a colour balance adjustment layer in Photoshop, and it is far more controllable. If you've not ventured into the split toning panel, the degree of variation that it offers you might be a little overwhelming; it can radically alter your photo in a ways that you might not anticipate. That shouldn't stop you from experimenting, and to get you started, here are some suggestions. And don't forget that if you're working in Lightroom, nothing can't be undone.
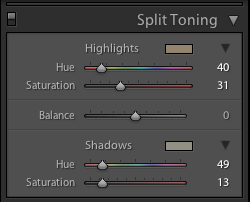
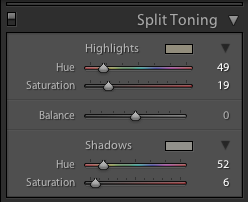
If you're using Lightroom, the split toning panel allows you to select the colours that you would like to emphasise in both the highlights and the shadows, the saturation for each of these tones, and then the balance between them.
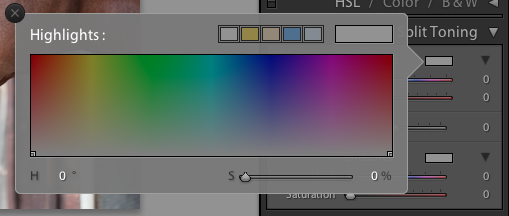
If you find using the sliders to control these adjustments a little too abstract, click on the colour swatches beside 'Highlight' and 'Shadow' and use the eyedropper to select the precise colour you'd like for each.
The balance slider places more emphasis on either the highlights or shadows. Once you've selected your highlight and shadow tones, move it about a bit to see which direction, if any, you prefer.
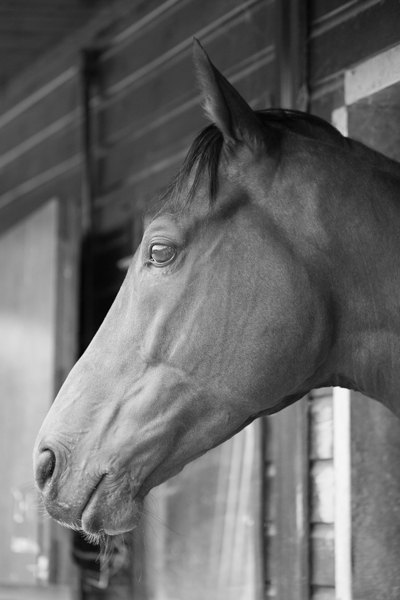
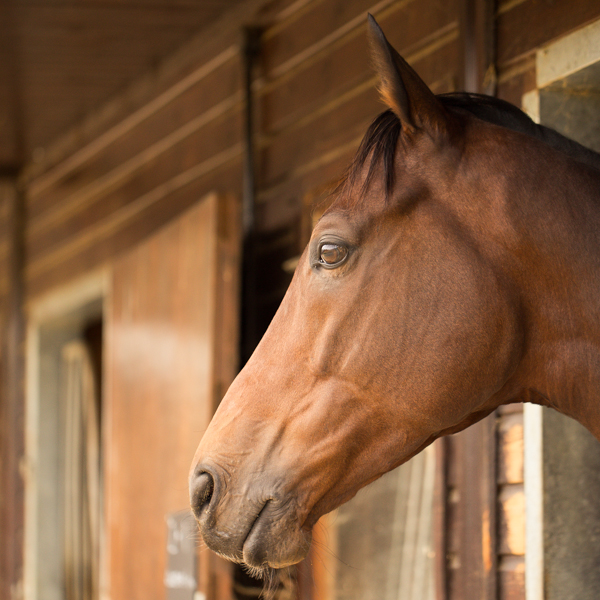
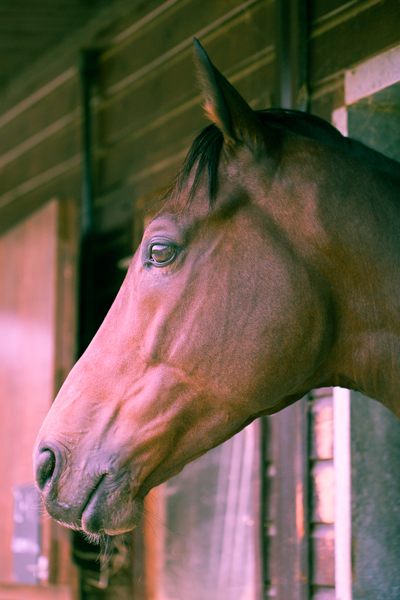
The original black and white conversion of Willie's portrait is coming up quite grey-green in tone. By adding some muted browns—that in the shadow very pale—you can introduce a great deal more warmth to the image and bring about an almost-sepia tone.
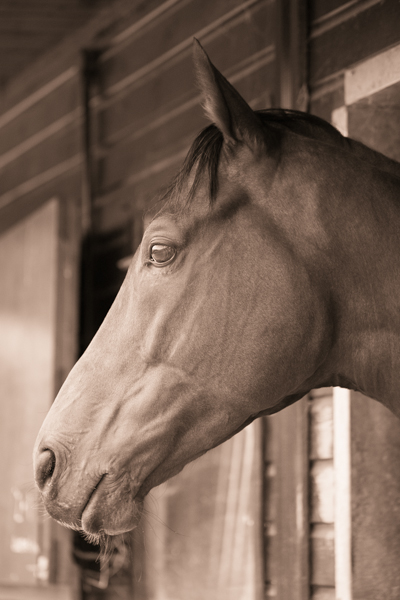
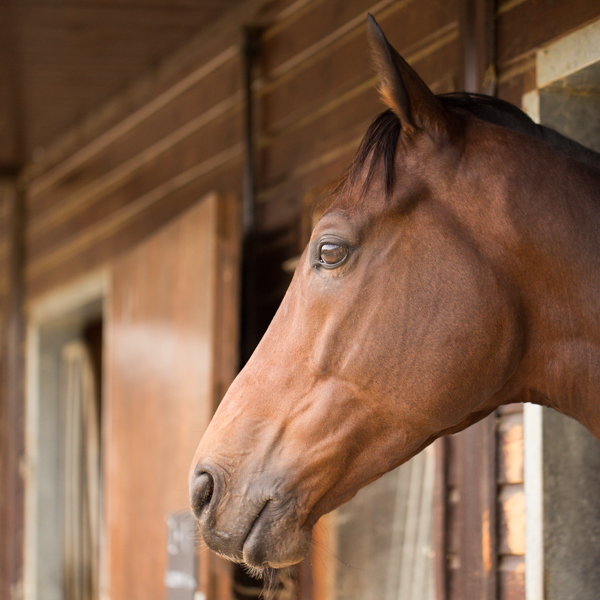
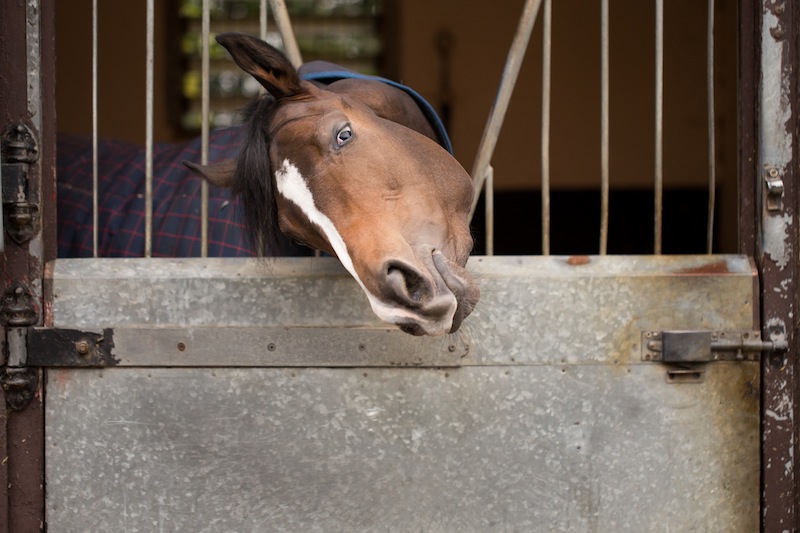
This photo was taken fairly early in the morning, on a day when the cloud didn't lift. While the light was wonderfully diffuse, it wasn't especially warm. Even after correcting the white balance, it still felt as if it needed to be brought to life. By adjusting the highlights and shadow tones, it meant I could introduce a more golden-hour feel to the photo.
You don't need to push too far into the oranges or yellows to intensify the warmth in a photo: sticking to browns and beiges might be enough.
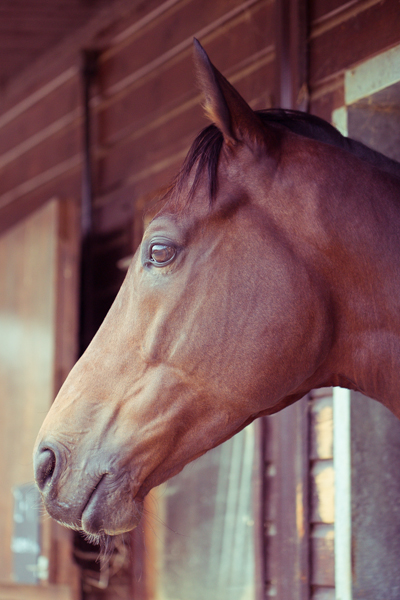
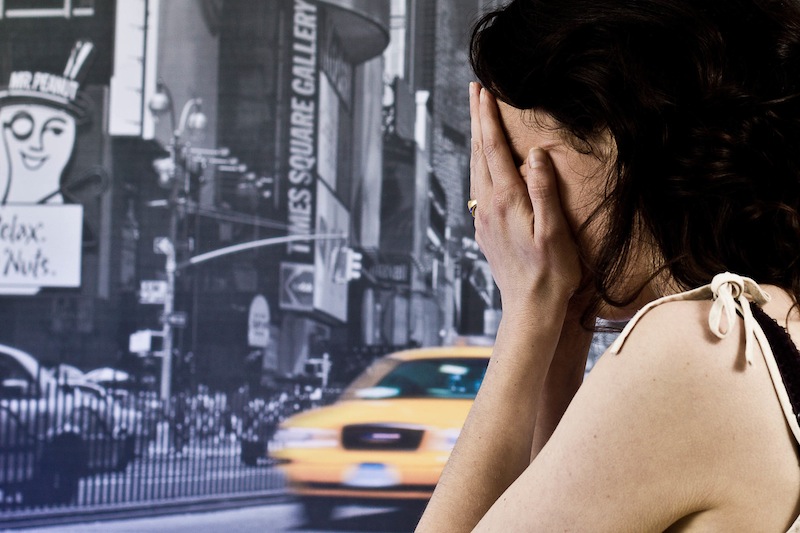
Of course, if you wanted to do the opposite and bring about a colder feel to a photo, you would do that by applying more silvery-blue tones, greys, greens, and even some yellows, to the shadows and highlights.
Until now, I've used fairly similar highlight and shadow tones in my split toning adjustments. But for a cross-processed effect, you need to select contrasting colours for your highlight and shadow tones: green and magenta, or cyan and yellow, for example. Which you apply will depend on whether you're looking for a warmer or cooler over all effect.
[gallery columns="2" ids="7128,7127"]
By adding a graduated filter, upping the contrast and saturation, and reducing the clarity, you can create a fake toy camera look. We've a tutorial for that, in case you'd like to give it a go.
The best way to get a feel for split toning is to try it for yourself and see what you can achieve using it. Remember: if you don't like it, you can undo it.
When you've been shooting for a while, you might start to notice that as well as being able to handle your camera more deftly, you're also pressing the shutter more instinctively and with a greater degree of conviction that you'll create a good image. Indeed, you are producing a greater number of better photos. While this might seem to be some form of photographic clairvoyance, it's actually rather more prosaic than that. You've actually grown more observant as a photographer and instead of developing some kind of sixth sense, you're learning to look.
First and foremost, and maybe without even realising it, you're becoming more attuned to light, to its quality, to its direction, to its temperature, and to its quantity. You're getting a feel for the type of light that makes for great photography and you're growing a better understanding of where to stand to make the most of it.
If you're still learning about light, start by thinking about from where the light is coming and how it's falling on your subject. Consider what's illuminated, what's in shade, and how where you're positioned will have an imapct on that.
When you understand how a game is played or the schedule of an event, it makes it easy to anticipate how things might go or what should happen next. For example, a tennis player about to receive a serve is likely to stand on the appropriate side of the court; a religious marriage ceremony usually follows a particular format. These are illustrative examples of 'domain knowledge.' By knowing how tennis is played and religious weddings are conducted, it gives you a fighting chance of predicting what’s going to happen next.
That sort of 'domain knowledge' is vital in many aspects of life, but it's also darned useful when it comes to photography, whether it’s nature, landscape, portrait, wedding, or even street photography.
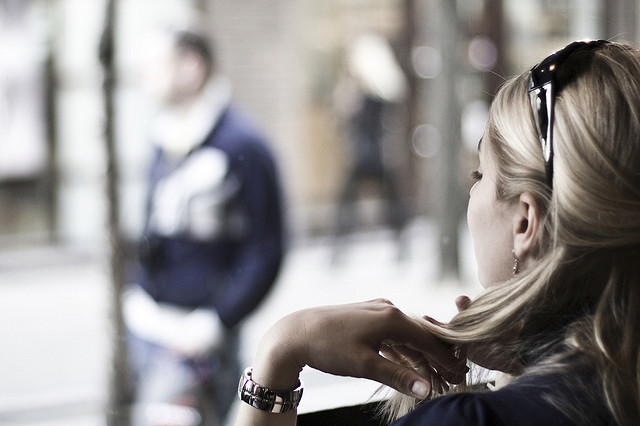
The more familiar we are with our subject matter, the better we become at anticipating its 'movement': its pace, nuance, and rhythm. If you photograph enough sunrises and sunsets, you'll develop an intimate knowledge of how the light changes as the sun sinks beneath the horizon or the impact of clouds on colour. Similarly, if you spend enough time observing people in a particular public place, you’ll become more familiar with the way they interact with one another within that space. Complete enough portrait sessions and you’ll become quicker at noticing how comfortable or otherwise your subjects are in front of the camera, and interact with them so that you are able to capture their essence.
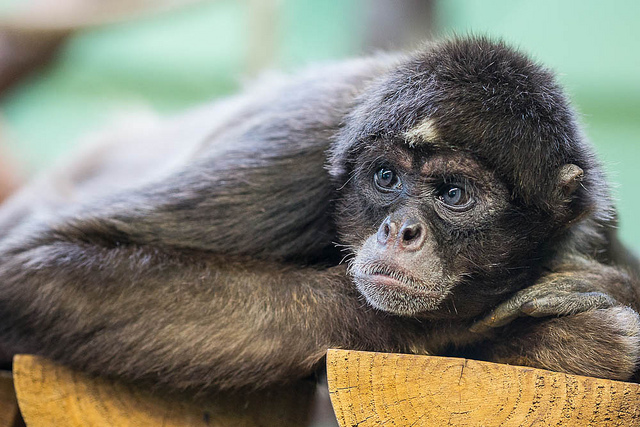
When it comes to sports photography, knowing how the game works and what to expect is a vital element in ensuring that you can get a shot. Understanding the idiosyncracies and routines of animals will help you with your wildlife and your pet photography.
This increased observance, whether of people, environment, or structure, increases your chances of capturing a precise moment because you know what to expect.
It helps then, to be prepared for whatever it is that you're planning on photographing. As well as doing some research, make an effort to actively think about what you see. Even when you're out and about and not especially in a position to be taking photos, train your eye to look for 'moments': for shafts of light, for interactions and reactions, for interesting backgrounds or subjects. Being able to anticipate what comes next will help you to get the shots you want.
Perhaps the most common mistake anyone who's new to photography makes is adopting a 'scatter-gun' approach. All too often when confronted with a scene worthy of photographing, the temptation is to fire away without really thinking about the images we’re capturing. This is partly because it costs nothing to take a photo these days, and partly because we feel that if we take enough shots we’re bound to stumble across the image we want to capture.
This is something that we've covered in depth of Photocritic before now, but it bears repeating. It is much better though to slow down and spend some time observing the subject. This isn’t always possible if you’re photographing a short-lived or unexpected event, but in most cases you do usually have time to consider your subject and assess it for its specific qualities. You can explore a variety of shooting angles, change your point of focus or depth of field, or wait for a change in the light, even shift your subject’s position or posture. You should learn to visualise the image you want to capture and actively seek out that image, rather than reacting to images you’ve shot in the hope that one of them fits the bill.