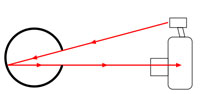
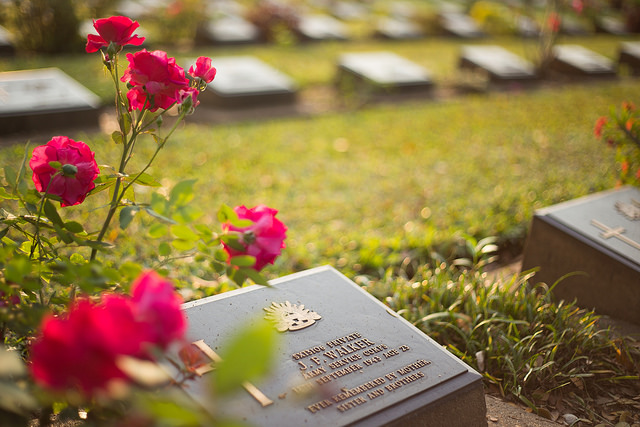
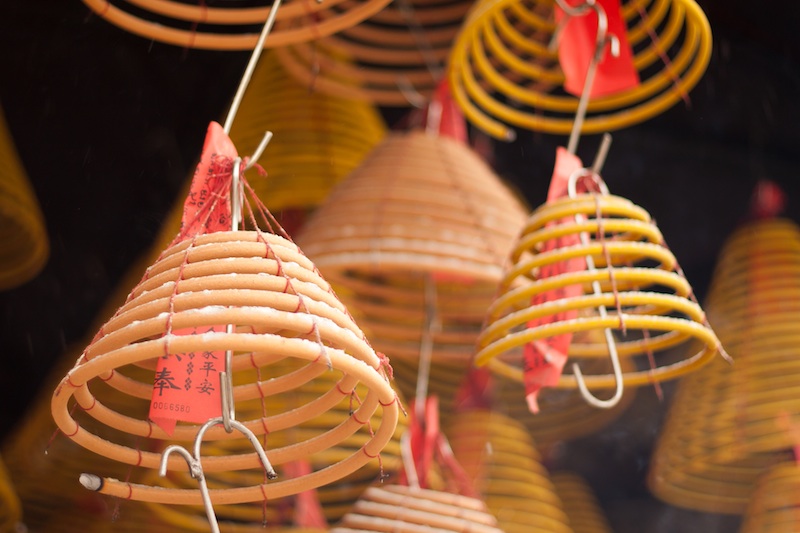
Breaking the rule of thirds works well often - especially in scenes like this
Few things confuse me more than someone asking me what camera I use. I understand the question, but I can't help but wonder why the answer would tell them anything about me as a photographer. After all - a painter is rarely asked about what brand of brushes she uses, nor do people care much about which word processor a novelist used.
Great photographs aren't made by a camera-and-lens combination; the equipment you hold in your hands and the tools you use to take the image from RAW file to final JPEG are completely irrelevant to most discussions about photography as an art form. Why? Because none of these things are the wall that stands between you and your yet-to-be-taken masterpieces.
A great photograph needs two things: It needs a creative vision, backed up by a solid set of technical skills. A photo that has one of these two things nailed can be good - but it won't be great.
Step 1: The technical side
The technical side of photography has myriad different elements to it, and a good photographer has to juggle all of them to create the perfect photograph. Getting a photograph is an equation of lighting, shutter speed, aperture, ISO, focal length, depth of field, focus, blurring (or the absence thereof), and a whole boatload of other variables. As a photographer, you are akin to a scientist using a sophisticated optical instrument, measuring the world around you, one fraction of a second at the time.
Photographers who are just starting out tend to have the biggest problems with the technical side of photography: Over- or under-exposure were the arch-nemeses of many a fledgling snapper. The challenges of avoiding focus blur, camera blur, and subject motion blur... You name it, we've all been there.
Most photography classes (forgive the pun) focus on photography as a technical challenge. In a way, that makes sense: It's the first hurdle that causes many to stumble out of the starting blocks. Sadly, by making photography into science, many new photographers are turned off - there are only so many diatribes about f-stops a right-minded human being can take before they wander off and reach for the Playstation controller.
More depressingly, many photography teachers stop when their students have finally figured out how to get a classroom printer to vomit up a reasonably well-exposed, moderately in-focus image, forgetting what photography was meant to be all about. But I'm getting ahead of myself...
Over time, people learn their tools and what can be done with them. They'll pick up rules, tips and tricks that help them compose well-exposed, correctly white-balanced images that are tack-sharp, well lit, and generally attractive-looking, realistic and accurate depictions of the world.
As you become a more experienced photographer, it's likely that the technical side of photography becomes second nature. Your camera and lens become extensions of your brain, your fingers glide effortlessly over the buttons, and you find yourself tickling the settings to perfection every time. When the time comes to buy a new camera body, you feel that sinking, forlorn feeling of having to re-adjust after the manufacturer moved the buttons around by a fraction of a centimetre on the new version of the camera.
Whilst being able to take technically perfect photos is a surprisingly rare skill, a technically proficient photographer is still merely a technician. Granted, there are places where photographic technicians have a place (archeology, to pick an example at random), but in most cases, merely getting a photo in focus and correctly exposed is not enough.
Step 2: The creative side
Personally, I got started in photography because the technical side of it was interesting to me. Freezing motion with fast shutter speeds - or the exact opposite - was a thrill. Gradually, as I started getting better at the science side of things, I started realising there was more to photography. I started looking at masterpieces by well-known photographers, and after an embarrassingly long time, it dawned on me why their photography was so much better than mine: They had a story to tell.
You've probably been at a party where someone is telling a story and it seems as if everybody is clinging on to the storyteller's every word. The onlookers are practically cheering the narrator on to continue with the incredible tale. I'm willing to bet that this particular raconteur could make any mundane, trivial topic come to life.
If the technical side of photography is the 'how', then the creative side is the 'why'. A great photograph isn't the absence of blur or the perfect exposure: It is telling a visual story, and telling it in such a way that the viewer can't tear themselves away.
Whereas the technical discipline of photography has shutter speeds and ISO choices in its war chest, the creative camp has an impressive array of weapons tucked away, too. The crop of an image, angle, choice of colours, taking the photograph at the decisive moment, being in the right place at the right time, patience, persistence, and the ability to pre-visualise the perfect shot are all aspects of capturing the perfect creative shot.
If a technically proficient photographer without creative insight is a technician, the opposite - a creative snapper without technical skills - would be a whiney art student. You know the type: They'll have an extensive portfolio of 'artfully out of focus' shots that have been photoshopped, textured and filtered to within an inch of their miserable photographic lives.
Don't get me wrong - I don't have a problem with people who bend the 'rules' of photography for creative effect. Quite the opposite, in fact. I do, however, encourage people to understand the photographic principles they are flaunting. Break all the rules you like, but as a creative photographer, you have to know why and how you are throwing convention to the wind.
When I am teaching, I am secretly more excited about students who come brimming with ideas but no photography skills, than the ones who know a lot about photography but haven't had an original thought in their skulls: The challenge with the creative perspective of the photographic quandary is that creativity is bone-cursingly difficult to teach. Which is a shame, because whilst most photographers eventually become proficient with their equipment, only a few go on to use those technical skills with amazing outcome - and all of that is down to creativity.
Putting it all together: Becoming a better photographer.
Picasso, it is said, once drew a sketch on a piece of paper for someone, and then charged them a lot of money for it. "Hey, that only took you 10 minutes", the potential buyer reportedly said. "No, that drawing took me 30 years", was the retort. If we assume for a moment that this anecdote is true, I'm completely with Picasso on this one: A photo can less than a thousandth of a second to make, but nobody learns photography in a day.
To improve your photography, the key is to know where your weakness lies. Easier said than done, but I found that adding an extra step to my photographic workflow has been of immense value: For every photo (even if I'm about to bin it for any reason), I make a mental note of two things: A technical, and a creative thing I could do to improve that particular photograph. If, at the end of the photo editing session, it turns out I have made a lot of mental notes about focus, then perhaps the time is ripe to pencil in a practice session. If I seem to forget to leverage the angles of my photography to the best effect, then - guess what - perhaps that's what needs to be worked on.
The great thing about self-evaluation is that this technique works well to improve both your creative process and the technical side of your photography. For every shot you're looking at, the question is simple: What could I have done to make this better? Especially for the photos you are most happy with, the answers are going to be valuable additions to your mental checklist the next time you're out and about with your photography kit. Baby-step by baby-step, you'll get closer to that ever-elusive Perfect Photo.


 As soon as


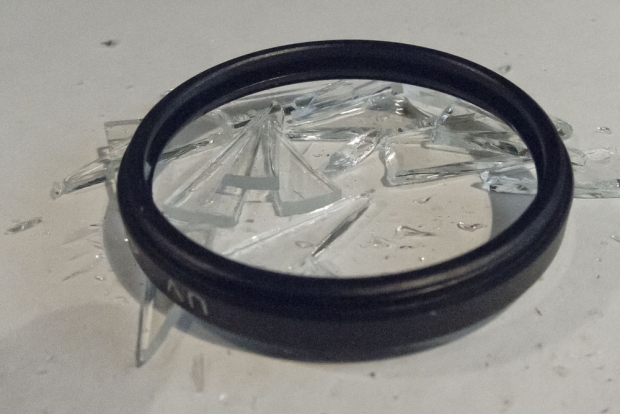
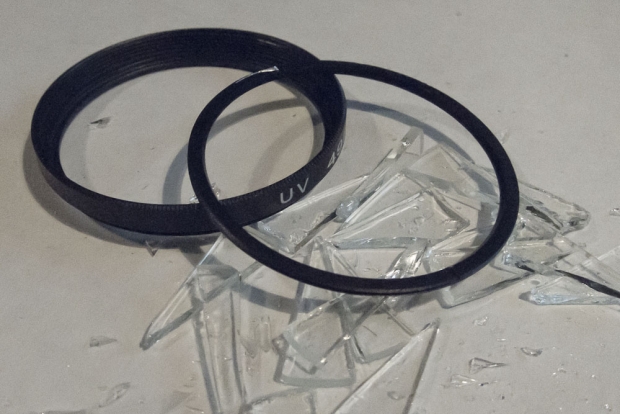
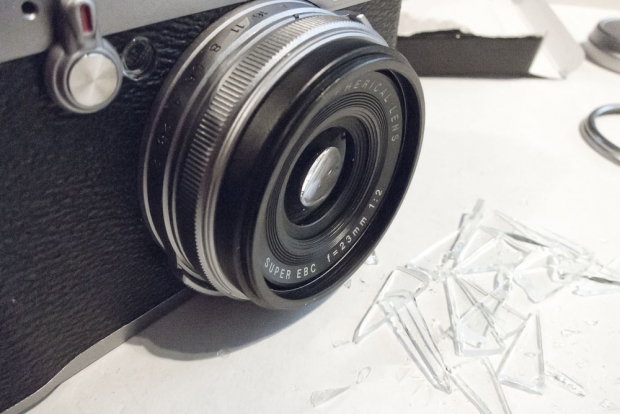
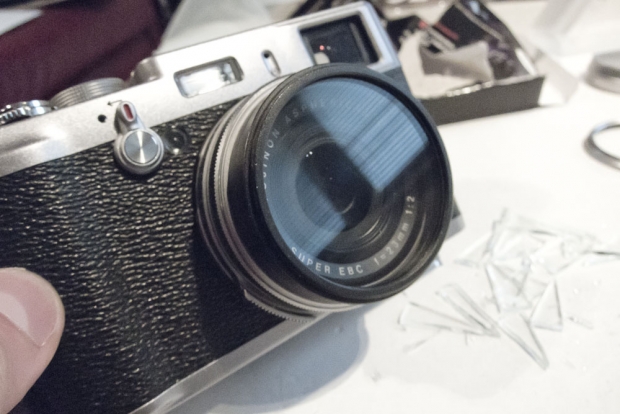
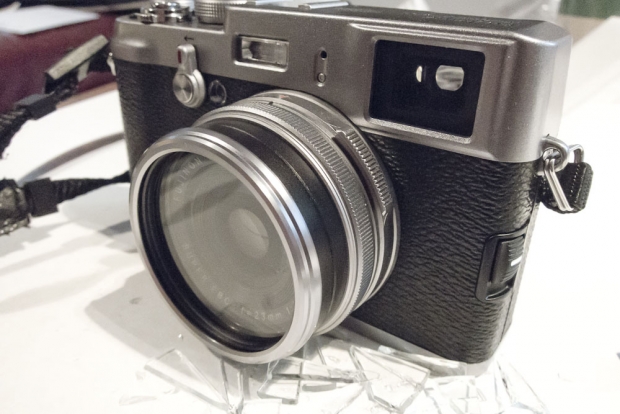
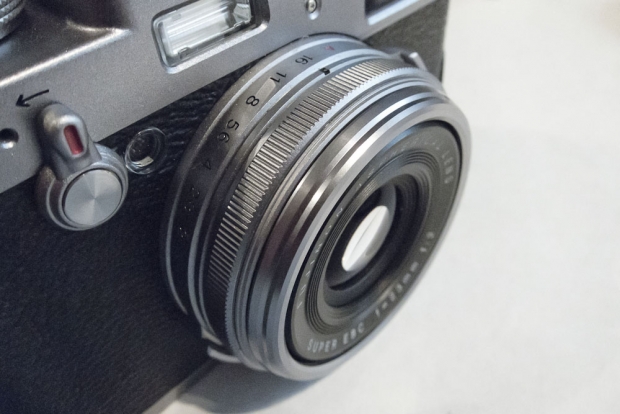 As a double bonus hazard, the camera doesn't have a filter thread, so it's impossible to put an UV filter on the lens for protection. Or is it? It turns out that it does, indeed, have a filter thread, but it's 'backwards' - instead of having the threads facing inwards, like on most cameras, on the X100, the threading is facing out.
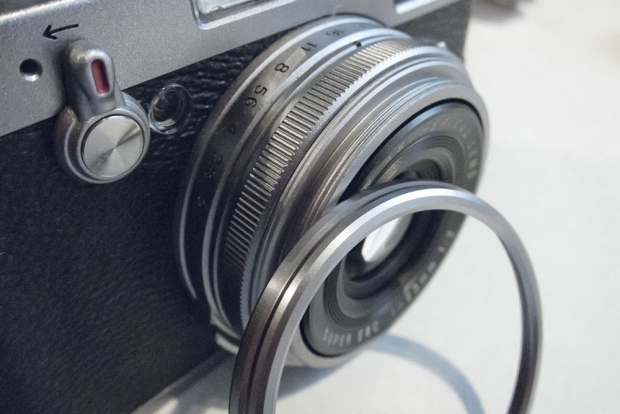


 of a built-in flash, you get a 50 meter (160 ft) range instead.")